Edimakor Screen Recorder is a powerful screen recording, live streaming, and virtual camera tool, allowing you to record video from computer, webcam, or iOS devices and present live videos on popular streaming platforms, video meeting tools or video call apps. Check this guide to use Edimakor Screen Recorder to record your screen.
Step 1. Run Edimakor Screen Recorder
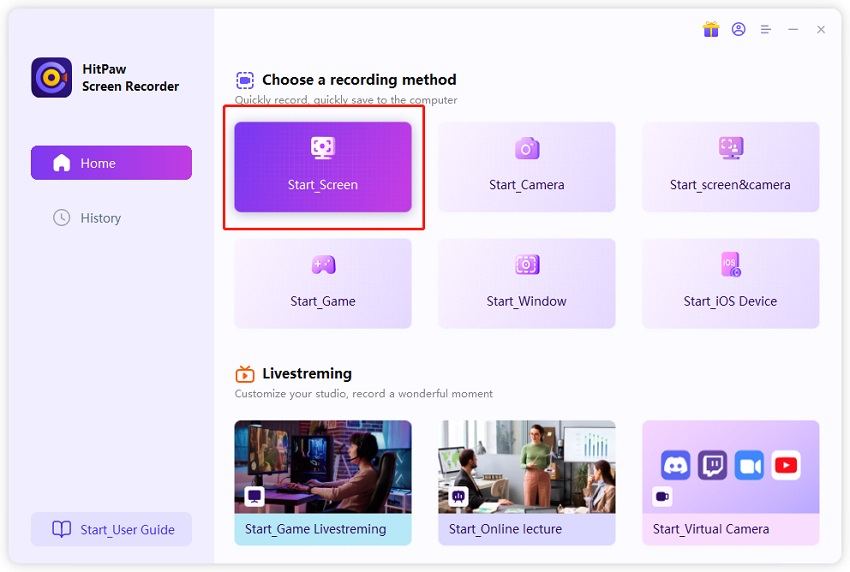
Download Edimakor Screen Recorder and then install it on your computer. Run Edimakor Screen Recorder after installing. From the home interface, you will find 6 options. To record screen, click on “Start_Screen”.
Step 2. Select Recording Area
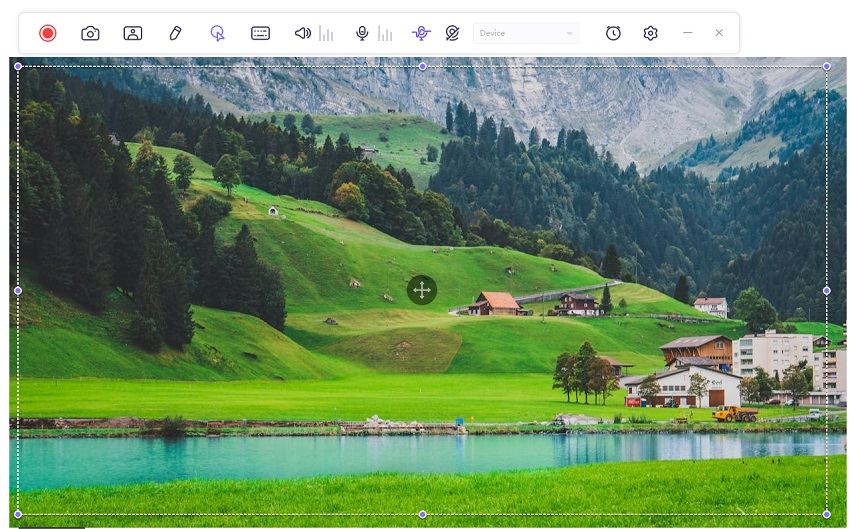
You can either choose full screen by pressing the Space bar or custom recording area by long clicking. You can scale and move the recording window according to your own needs.
Step 3. Customize Recording Settings
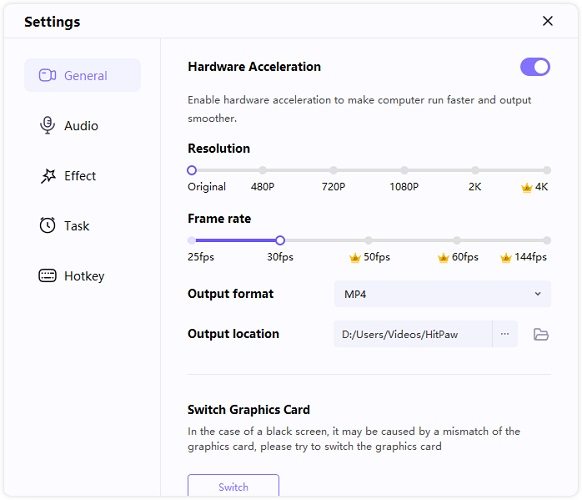
Tap the Gear icon on the toolbar to open the settings window. Now set the recording preferences with the following sections:
General: Choose the output frame rate, resolution, format and location. Support up to 4K and 144fps. You can export the recorded video to MP4 or MKV.
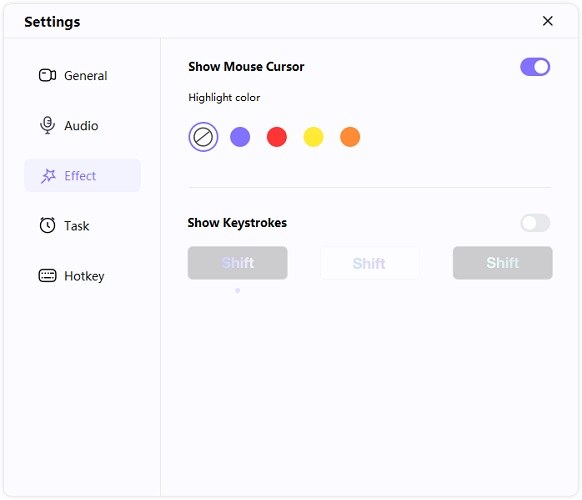
Effect: Check the box next to “Show mouse cursor” and “Show keystrokes” to allow or disallow the mouse arrow during the recording session.
Task: From here, you can schedule recording tasks at a specific time as you like. For more details, please go to “Schedule Recording” section.
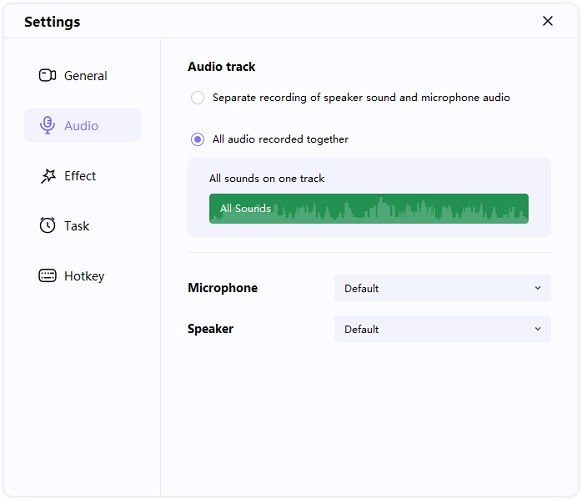
Audio: Select the audio sources. To record screen with sound, you can use the system's internal mic or connect an external microphone and select it under the Microphone list. You can also click the Speaker menu and select an audio source. The audio track can also be recorded separately or together.
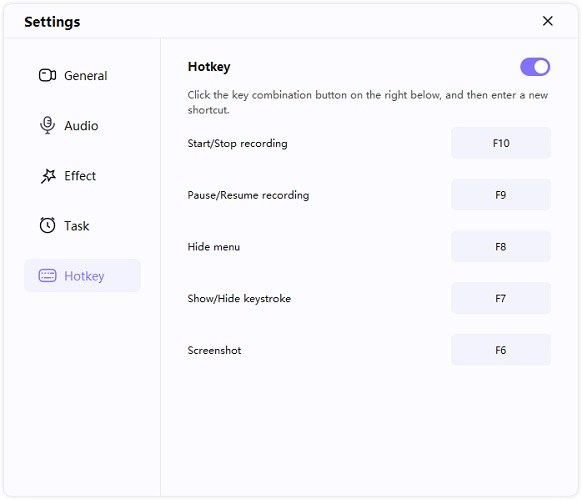
Shortcut: In this part, you can set the keyboard shortcuts for starting and stopping the recording session, pausing/resuming the recording, etc. You can simply click on the hotkey to change it to a new one as you want.
- The Start/Stop recording hotkey is F10.
- The Pause/Resume recording hotkey is F9.
- The Hide menu hotkey is F8.
- The Show/hide keystroke hotkey is F7.
- The Screenshot hotkey is F6.
Step 4. Start Screen Recording
Click on the recording icon, then Edimakor Screen Recorder will start to record your screen. During the recording process, you can click the pause button to pause. If you want to finish the recording, just click on the stop button.

Notes:
- Click the camera icon to take a quick screenshot.
- Click on the PIP icon to quickly switch to Webcam recording or picture in picture recording.
- Click the speaker and microphone icons to disable the audio if you don't want to record the audio while recording the screen.

Step 5. Draw While Recording Screen
Find the Draw icon beside the PIP feature. Click on it, you will find 3 options: pen, highlight and arrow. Choose the suitable size and color, and then drag mouse on the recording screen to mark the important content.
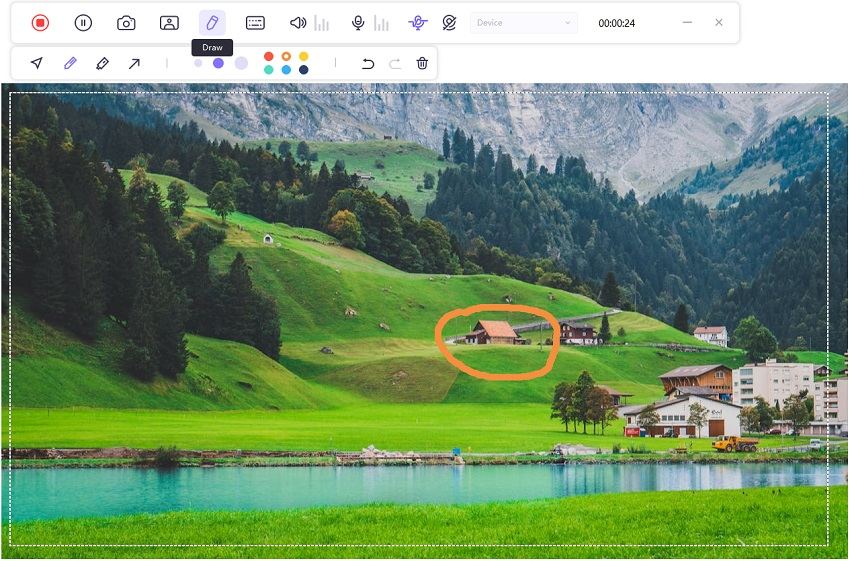
Note: You can use the Draw function to point the screen only in the case of recording screen or recording screen with webcam.
Step 6. End Recording and Edit Video
Once you click the Stop button, the software will end the recording and give you a quick option to play the recording. You will also see a notice in the bottom right corner of the screen. Click the folder icon to open the output folder.
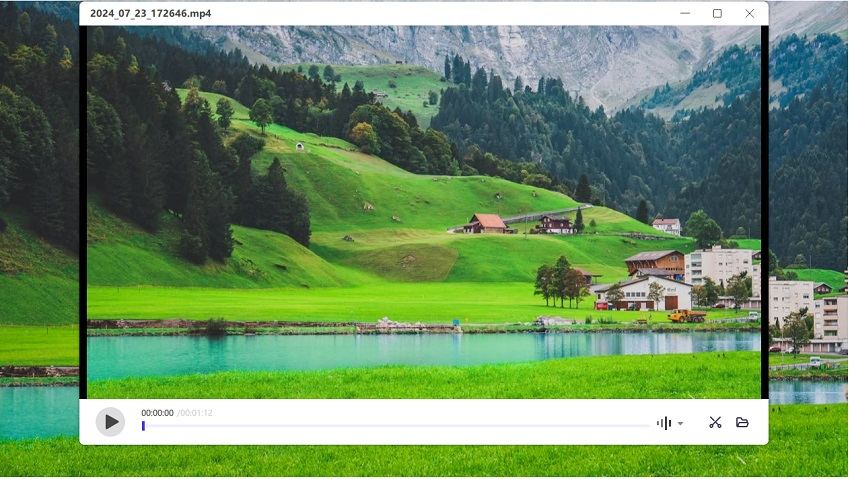
You can click the Scissors icon to edit the recording. For example, cut, trim, crop, resize, rotate, color grade and adjust the speed of the video.
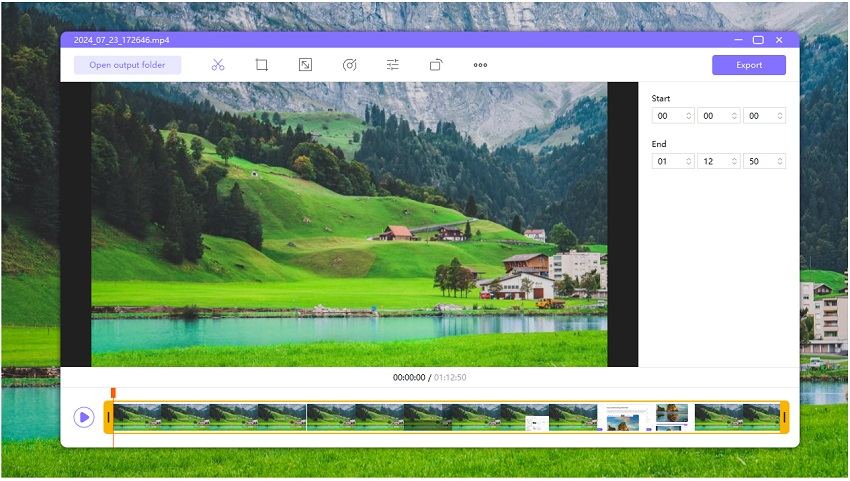
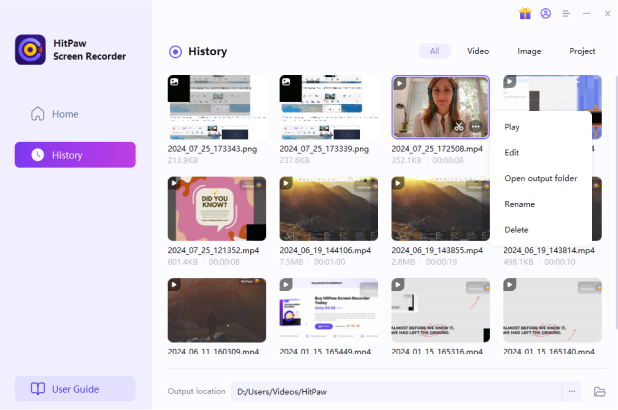
Or go to the home interface and click “History” to find your screen video. Right click the mouse to select to edit, open output folder, rename or delete the video.
