Animate Every Detail:
Keyframes Animation for Beginners and Pros
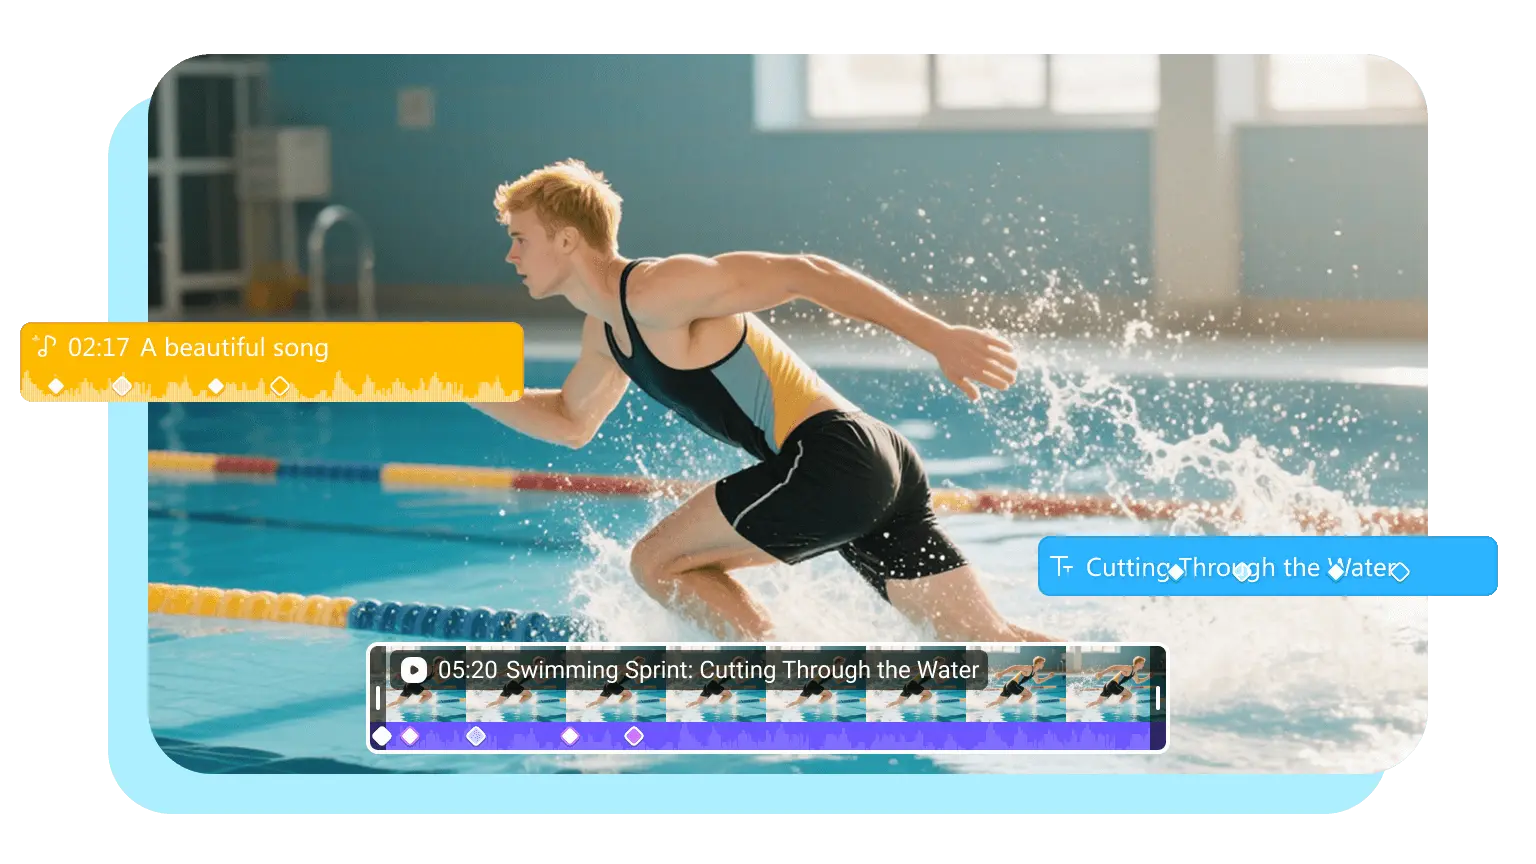
- Add smooth, customized motion to any video element -- image, video, audio, text and screens easily.
- Set keyframe parameters easily such as size, position, rotation, volume, speed, etc.
- Create keyframe animations like animated movement, animation effects and more.
- Have Linear keyframe, curve keyframe and more keyframe types to come.
Keyframing Basics
What Is a Keyframe
A keyframe is a crucial element in animation and video editing that marks the start and end points of any change or movement. Whether you're adjusting an object’s position, scale, rotation, or opacity, keyframes define the specific moments where those changes begin and end. With Edimakor’s keyframing feature, you can easily set these key points, and the software will automatically generate the smooth transitions between them—bringing your animations and effects to life with precision and control.

Main Features of Edimakor's Keyframes
Edimakor's keyframe system is designed for creators who want precision,
flexibility,
and stunning results — without needing advanced animation skills.
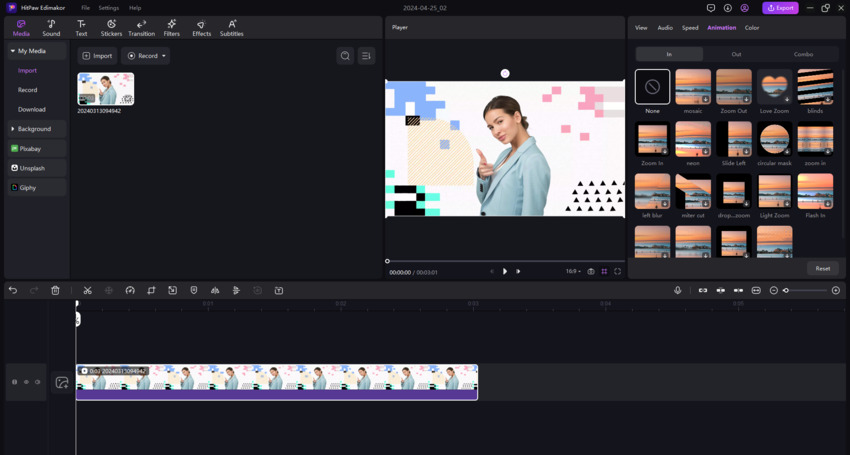
Keyframe Basics: Animate Every Element with Precision
Edimakor’s Keyframe tool gives you complete control
over how every part of your video looks, moves, and sounds — frame by frame. Whether you're working
with video, audio, text, or visual effects, you can animate multiple properties to craft stunning
transitions, dynamic scenes, and engaging storytelling moments. Combine multiple keyframe types
across different elements to create layered, professional-grade motion graphics.
Edimakor allows you to keyframe:
- Video/Photo: position, scale, rotation, trim, opacity, mask, etc.
- Audio: volume, fade in/out, pitch, equalizer, configurator, etc.
- Text: color, background, shadow, curve, stroke, etc.
- Others: stickers, effects, filters, etc.
Animate Scene Parameters for Advanced Visual Controls
Edimakor goes beyond basic motion animation — with keyframe control over visual properties, you can fine-tune the look and feel of every frame in your project. From color grading to lighting effects, achieve broadcast-quality visuals without needing professional gear.
- color grading
- chroma keying
- mixing
- smart lighting
- color cloning
- color correction
Keyframe Types in Edimakor: Choose How Your Animation Moves
Edimakor gives you control over animation flow with two keyframe styles: Linear and Curve. Whether you want smooth transitions or precise movements, we've got you covered.
Linear Keyframes
Linear keyframes create animations that move at a constant speed from one point to another. They're perfect for clean, straightforward transitions—like moving text across the screen, scaling an image, or rotating a logo.
Curve Keyframes
Curve keyframes allow you to add easing (ease-in, ease-out, or both) to your animations, making movements feel more fluid and lifelike. This option mimics real-world physics and helps your visuals breathe with more cinematic energy.
Tap into the Potential of Edimakor Keyframe Use Cases&Ideas
Keyframe animation isn't just for pros. Use it to bring energy, style, and motion to everyday videos. Create professional-level animations with zero experience

Social Media Clips
Add motion to your emojis, captions, and stickers to inject personality and energy into your videos. Whether you're sharing a meme, a reaction video, or a short vlog, animated elements created with keyframes boost engagement and help your content go viral on platforms like TikTok, Instagram, and YouTube Shorts.
Tutorial Videos
Use keyframe animation to zoom in on important UI elements, highlight specific tools, or guide your viewer’s attention from one part of the screen to another.
Music Videos
Bring rhythm to life by animating text, images, or effects in perfect time with your audio. Make lyrics fly in/out or pulse objects to the bassline — all by controlling keyframes on the timeline.
Product Demos
Use smooth keyframe animations to draw attention to product features, pricing, or benefits. Make text slide in, rotate product images for a 360° look, or animate call-to-action elements.
Intro/Outro Animations
Craft custom logo reveals, branded lower-thirds, and end cards using keyframe motion. You can animate logos scaling in, brand colors sliding across the screen, or text fading and rotating in sync.

Tutorial Videos
Use keyframe animation to zoom in on important UI elements, highlight specific tools, or guide your viewer’s attention from one part of the screen to another.

Music Videos
Bring rhythm to life by animating text, images, or effects in perfect time with your audio. Make lyrics fly in/out or pulse objects to the bassline — all by controlling keyframes on the timeline.

Product Demos
Use smooth keyframe animations to draw attention to product features, pricing, or benefits. Make text slide in, rotate product images for a 360° look, or animate call-to-action elements.

Intro/Outro Animations
Craft custom logo reveals, branded lower-thirds, and end cards using keyframe motion. You can animate logos scaling in, brand colors sliding across the screen, or text fading and rotating in sync.
How to Animate with Keyframes in Edimakor

Why Choose Edimakor for Keyframe Animation
Flexible Controls
Customize motion curves, timing, and acceleration with ease.
Beginner-Friendly UI
Intuitive timeline and visual markers make it easy to set and adjust keyframes.
Multi-Layer Support
Animate multiple layers simultaneously for advanced motion graphics.
Smart Suggestions
Auto-suggest keyframe paths for smoother animations.
Real-Time Preview
See the results instantly as you make adjustments.
The keyframing tool in Edimakor is super intuitive! I was able to animate text and images exactly how I wanted without needing any advanced skills. It made my video look so much more dynamic.
I love how smooth the transitions are between keyframes. Whether I’m adjusting zoom, opacity, or movement, Edimakor makes it feel effortless. It gives me full creative control without the usual hassle.
Jason
As someone new to video editing, I found Edimakor’s keyframing feature surprisingly easy to use. It helped me create professional-looking motion effects with just a few clicks!
Michelle
One-Stop Tools, Personalized Videos


Frequently Ask Questions
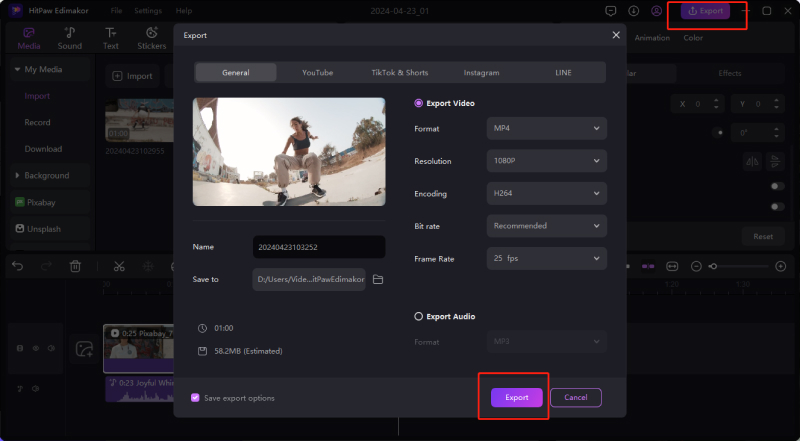
Yes, Edimakor users can use keyframes for free. Users use keyframes with a watermark when exporting keyframe footage. You can subscribe to a paid plan at any point to remove the watermark.
To delete keyframes in Edimakor, simply select the keyframe on the timeline and press the Delete or Backspace key on your keyboard. This is the same shortcut used for deleting clips or elements on the timeline, making it quick and convenient to manage your keyframes.
Yes, you can! In Edimakor, you can select one or multiple keyframes, click Copy, and then Paste them onto the same clip or a different one. The pasted keyframes will start from the current playhead position, making it easy to reuse animations and maintain consistency across your edits.
Yes! In Edimakor, keyframing isn’t limited to video and audio tracks—you can also use it to animate text, titles, effects, stickers, split screens, and more. This gives you full creative control to bring motion and style to every element in your video.
Keyframes are essential in video editing because they allow you to control how and when changes happen in your video. By setting keyframes, you can animate movement, scale, rotation, opacity, and more—creating smooth transitions and dynamic effects. This gives you precise control over timing and helps bring your creative vision to life with professional-quality results.
 Edimakor
You
+ Edimakor - Turn ideas
into dynamic
videos
Emily