Want to learn how to record webcam with Edimakor Screen Recorder? Read this guide to find the detailed steps with pictures.
Step 1: Download and Install
Download Edimakor Screen Recorder first, install it on your computer and then launch the software.
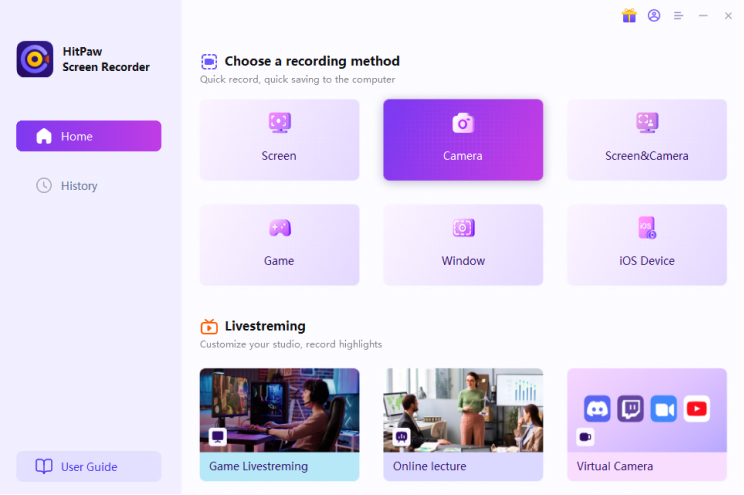
Step 2: Select Webcam in Device
From the home interface, you can click the option “Webcam”.
Step 3: Select Webcam and Settings
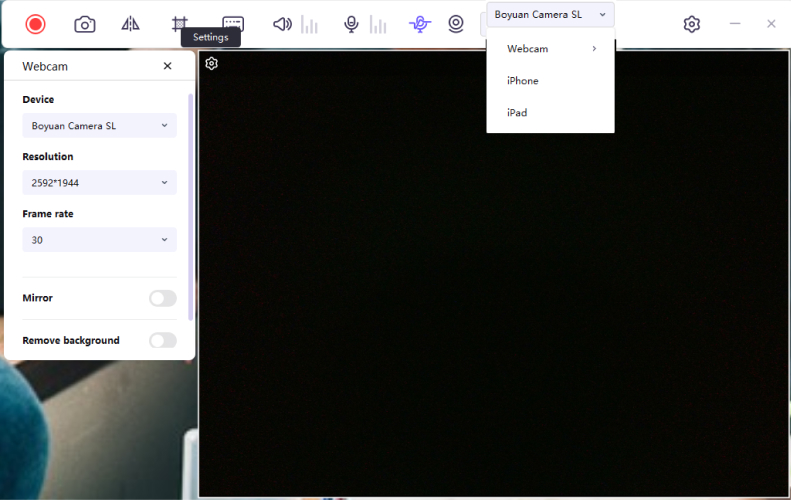
From the home interface, you can choose the webcam you want to record. You can use your computer camera. Next, you can choose a suitable resolution and also FPS.
You can set webcam mirror and webcam remove background, and if there is a green screen, you can turn on green screen keying.
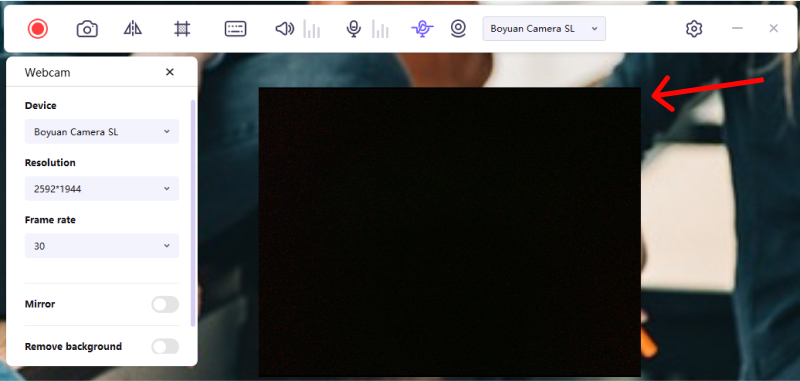
Note: You can press and hold the four edges and drag to crop the camera.
Step 4: Start to Record
Click on the Start button to start record webcam, you can click adjust the system audio and microphone audio, change the webcam if you want to switch to another one, and also mirror the effect during the recording.
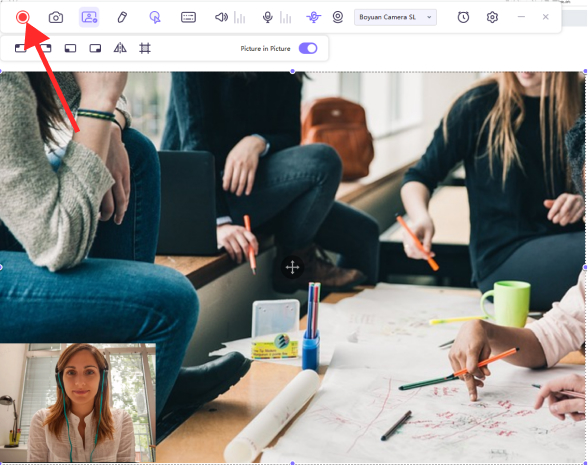
Note: Edimakor Screen Recorder supports taking screenshot in one click, the screenshot icon looks like a camera.
Step 5: End Recording and Edit Video
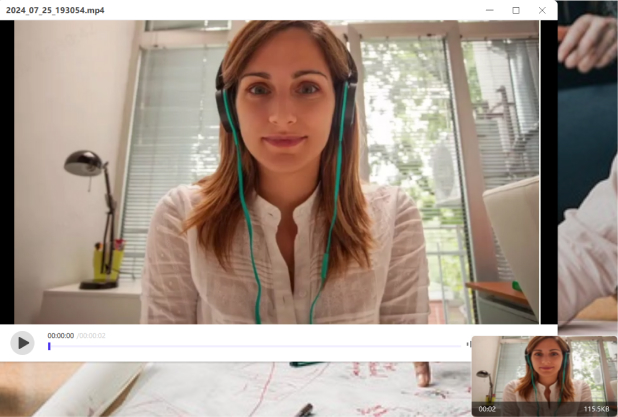
Now, click on the Stop button to end the recording. The software will give you a quick option to trim the recorded video. It's in the bottom right corner of the screen. You can click the play icon to preview and cut the video to the length you need. If you don’t need to edit the video, you can simply click the icon of right side to open the output folder and check the video.
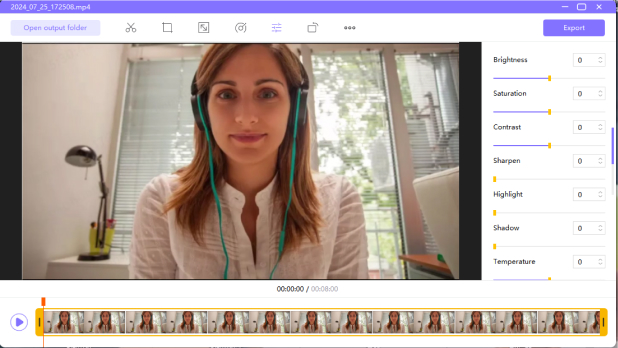
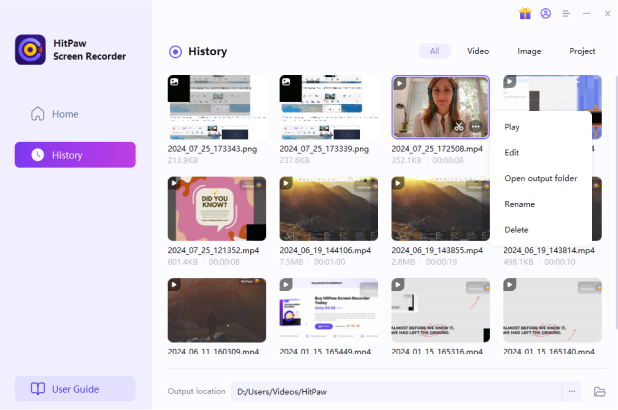
Or you can go to the home interface and click “History” to find your screen video. Right click the mouse to select to edit, open output folder, rename or delete the video.
