“How do I take a low-res image (28KB) and turn it into something high-resolution enough to print?”
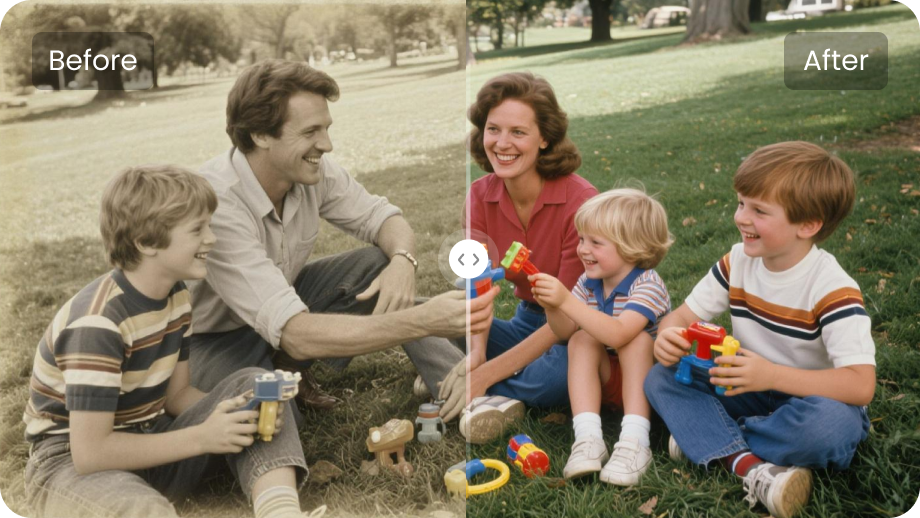
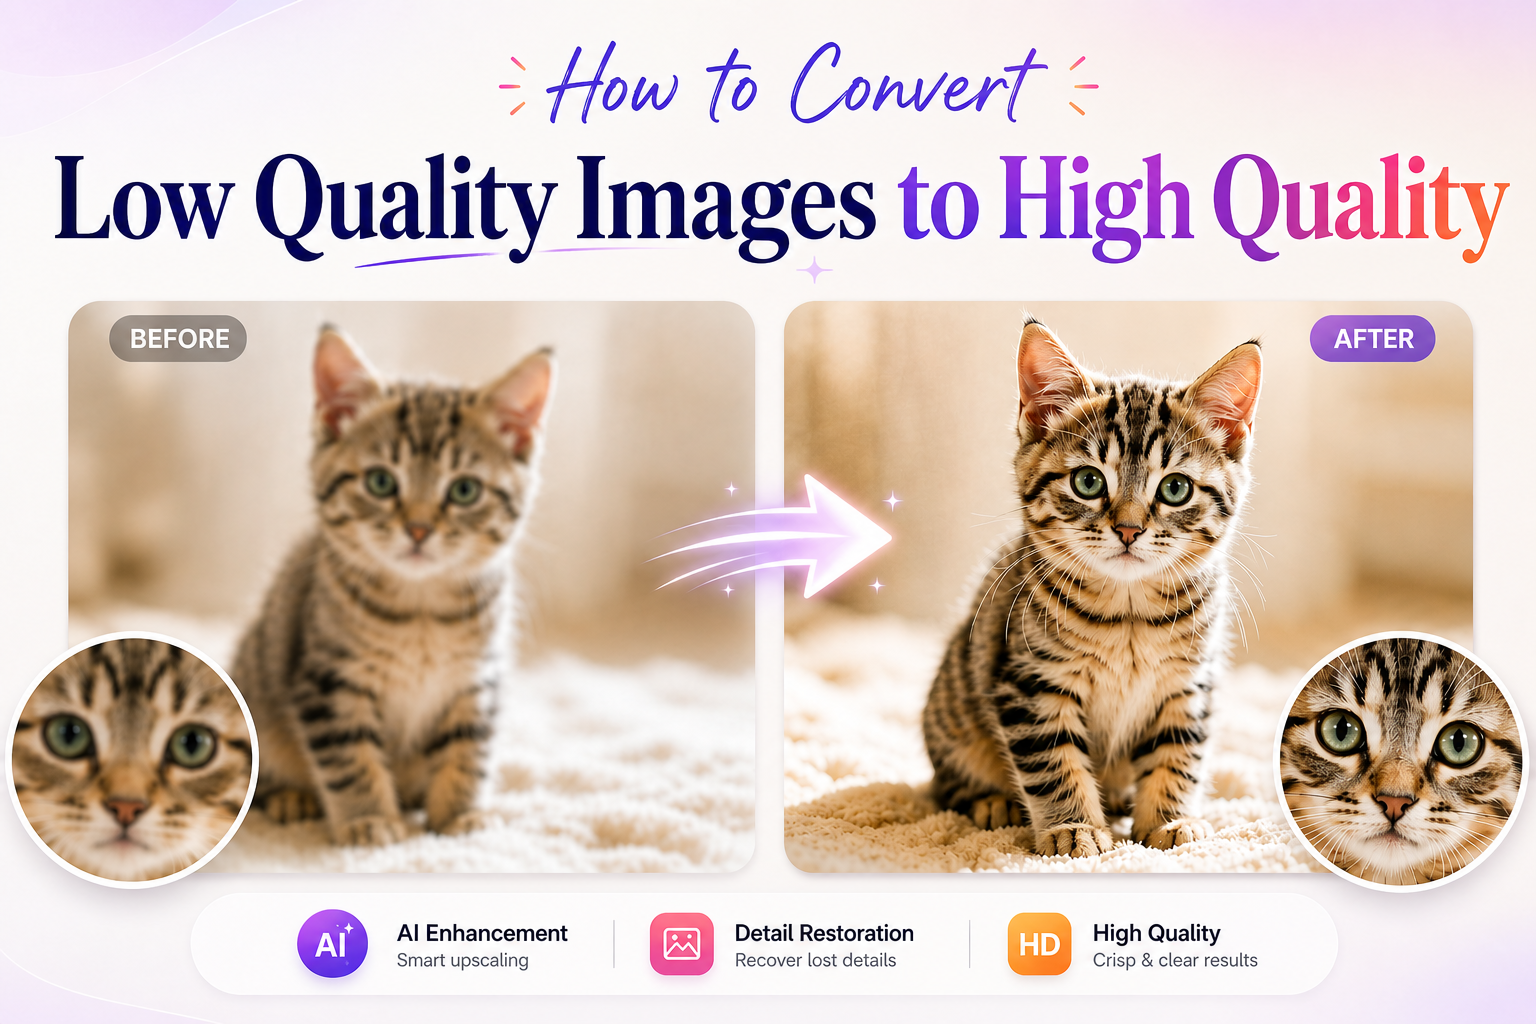
This is a common problem when working with old photos, compressed images, or files downloaded from the internet. Low-resolution images often appear blurry or pixelated when enlarged, making them unsuitable for printing.
Fortunately, modern tools can help convert low-quality images to high-quality. Using AI, online platforms, or professional software, you can restore details and make your images clearer and more appealing.
Part 1. Top 3 Methods to Convert Low Quality Images to High Quality
Picking the best way to convert low quality images to high quality depends on what you need. You can try AI-powered tools, free online upscalers, or use professional software. Each choice has its own good points and some problems.
Method 1. How to Enhance Image Quality with AI (Edimakor)
Using AI tools like Edimakor is one of the easiest ways to improve image quality. You can enhance resolution, reduce blur, and sharpen details automatically in just a few steps.
Step 1 Download and install Edimakor on your computer, then launch the software to get started.


Step 2 Create a new project. Go to the Media panel, find Image Enhancement, and click Scenes. Then choose the feature you want to make your image clearer.

Step 3 Now you can upload the low quality photo you want to enhance. Choose AI enhancement options such as image upscaling, sharpening, or denoise to improve clarity. Select your target resolution (such as HD or 4K) .
Step 4 Once the enhancement is complete, preview the result and export the image. Your low quality photo will be saved in high quality and ready to share or print.
Tip:
AI tools work best with relatively clear images. For heavily damaged or very low-resolution photos, results may vary. If you need more precise control, consider using professional editing software.
Method 2. How to Convert Images to 4K Resolution Online for Free
Online AI upscaling tools make it easy to convert images to 4K without installing any software. Tools like Canva, Cutout Pro, Aiseesoft, and Upscale.media allow you to upload an image and enhance its resolution in just a few clicks.
Here’s how to upscale an image to 4K using a typical online tool:
- Go to an AI image upscaling website (such as Upscale.media or Cutout Pro).
- Upload your image from your device.
- Select the upscale option (e.g., 2×, 4×, or 4K resolution).
- Preview the enhanced result.
- Download the upscaled image.
Most platforms offer free plans, but they often come with limitations such as file size caps, slower processing speeds, or watermarks.
These tools are ideal for quick and simple edits. However, if you need more control or batch processing, their features may feel limited.
Method 3: How to Convert Images to HD Quality in Photoshop
Photoshop can improve low-quality images using a combination of resolution adjustment, sharpening, and noise reduction tools. This method works even if AI features like Super Resolution are not available.
Here’s how to do it:
- Open your image in Photoshop.
- Duplicate the layer (Ctrl + J / Cmd + J) to protect the original image.
-
Go to Camera Raw Filter
Click Filter > Camera Raw Filter. -
Enhance image clarity in Camera Raw:
- Texture: increase slightly (+10 to +30)
- Clarity: increase moderately (+10 to +25)
- Sharpness: adjust in the Detail panel (40–70)
- Noise Reduction: reduce noise (20–50)
-
Apply additional sharpening (optional):
Go to Filter > Sharpen > Smart Sharpen- Amount: 80–150%
- Radius: 0.8–1.5
-
Adjust image size if needed:
Go to Image > Image Size- Increase resolution or resize based on your requirement
- Keep “Resample” enabled if you want to change pixel dimensions
-
Export the final image in high quality:
Go to File > Export > Export As- Format: JPG or PNG
- Quality: 90–100%
Key idea:
This method improves image quality by combining contrast adjustment, clarity enhancement, sharpening, and noise reduction, instead of relying on AI upscaling tools.
Quick Comparison: Which Image Enhancement Method Is Best for You
Choosing the right method depends on your needs—speed, quality, or control. Here’s a quick comparison of the three methods:
| Method | Best For | Pros | Cons |
|---|---|---|---|
| AI Tools (Edimakor) | Beginners & quick results | Fast, easy to use, automatic enhancement | Less control over details |
| Online Tools | Quick one-time use | No installation, simple workflow | May have limits (watermarks, file size, speed) |
| Photoshop | Advanced users | Full control, high-quality results | Requires skills and more time |
Which one should you choose?
- Choose AI tools if you want the fastest and easiest way to improve image quality.
- Choose online tools if you only need a quick fix without installing software.
- Choose Photoshop if you need precise control and professional-level editing.
Part 2. Practical Tips to Convert Pictures to HD Quality for Better Results
To achieve better results when converting low-quality images to high quality, it’s important to follow a few key practices. These tips can help you preserve details, avoid common mistakes, and get clearer, more natural-looking results.
- Use the Best Source Image: Always use the highest-quality version available. Even AI tools have limits—if the original image is extremely compressed or tiny (e.g., 28KB), the final result may still be limited.
- Choose the Right AI Enhancement Mode: Different AI models focus on different improvements, such as sharpening, noise reduction, or face restoration. Test a few modes and choose the one that looks the most natural.
- Avoid Over-Processing: Applying too much sharpening or enhancement can introduce noise, artifacts, or an unnatural “plastic” look. Subtle adjustments usually produce better results.
-
Optimize Output Format and Resolution: Export your image
based on its final use case:
- For Web / Social Media: Use JPG or PNG with Full HD (1920×1080) or higher
- For Printing: Use PNG or TIFF with high resolution (300 DPI) to ensure clarity
Part 3. Common Problems When Converting Low Quality Images
When converting low-quality images to high quality, the results don’t always turn out as expected. Below are some of the most common issues—and how to fix them effectively.
Problem 1. The Image Still Looks Blurry After Upscaling
Even after using AI tools, some images may remain blurry—especially if the original file is extremely small or lacks detail.
Why it happens:
- The original image resolution is too low (e.g., heavily compressed or under 50KB)
- There isn’t enough detail for AI to reconstruct
How to fix it:
- Start with the highest-quality source available
- Try different AI models (some are better at detail reconstruction)
- Avoid extreme upscaling in one step.
Problem 2. The Image Looks Over-Sharpened or Fake
Over-processing can make images look unnatural, with visible artifacts.
Signs to watch for:
- Halos around edges
- Excessive noise in dark areas
- “Plastic” or overly smooth textures
How to fix it:
- Reduce sharpening strength
- Use AI modes that focus on natural enhancement
- Always preview before exportin.
Problem 3. Loss of Natural Details and Texture
Some tools may remove fine textures while trying to reduce noise, making the image look flat or unrealistic.
- Choose tools that balance noise reduction and detail preservation
- Compare before-and-after results
- Adjust settings manually if possible
Problem 4. Privacy Risks When Using Online Tools
Uploading images to online platforms may expose your files to privacy risks.
How to stay safe:
- Avoid uploading sensitive or personal images
- Use trusted tools with clear privacy policies
- Prefer tools that automatically delete uploaded files
FAQs About Image Quality Improvement
Yes, many tools offer free versions, but they often come with limits such as watermarks, lower resolution output, or usage restrictions.
Yes, higher-resolution images usually result in larger file sizes. Choosing the right format (such as JPEG for smaller size or PNG for better quality) can help balance quality and storage.
It depends on the platform. Always check the privacy policy and avoid uploading sensitive images. For better security, consider using offline software.
Conclusion
Improving image quality is easier than ever with modern tools. AI tools offer the fastest and simplest way to enhance images, while professional software provides more control for detailed edits.
For a quick and easy solution, tools like HitPaw Edimakor let you improve images in just a few clicks.
Leave a Comment
Create your review for HitPaw articles