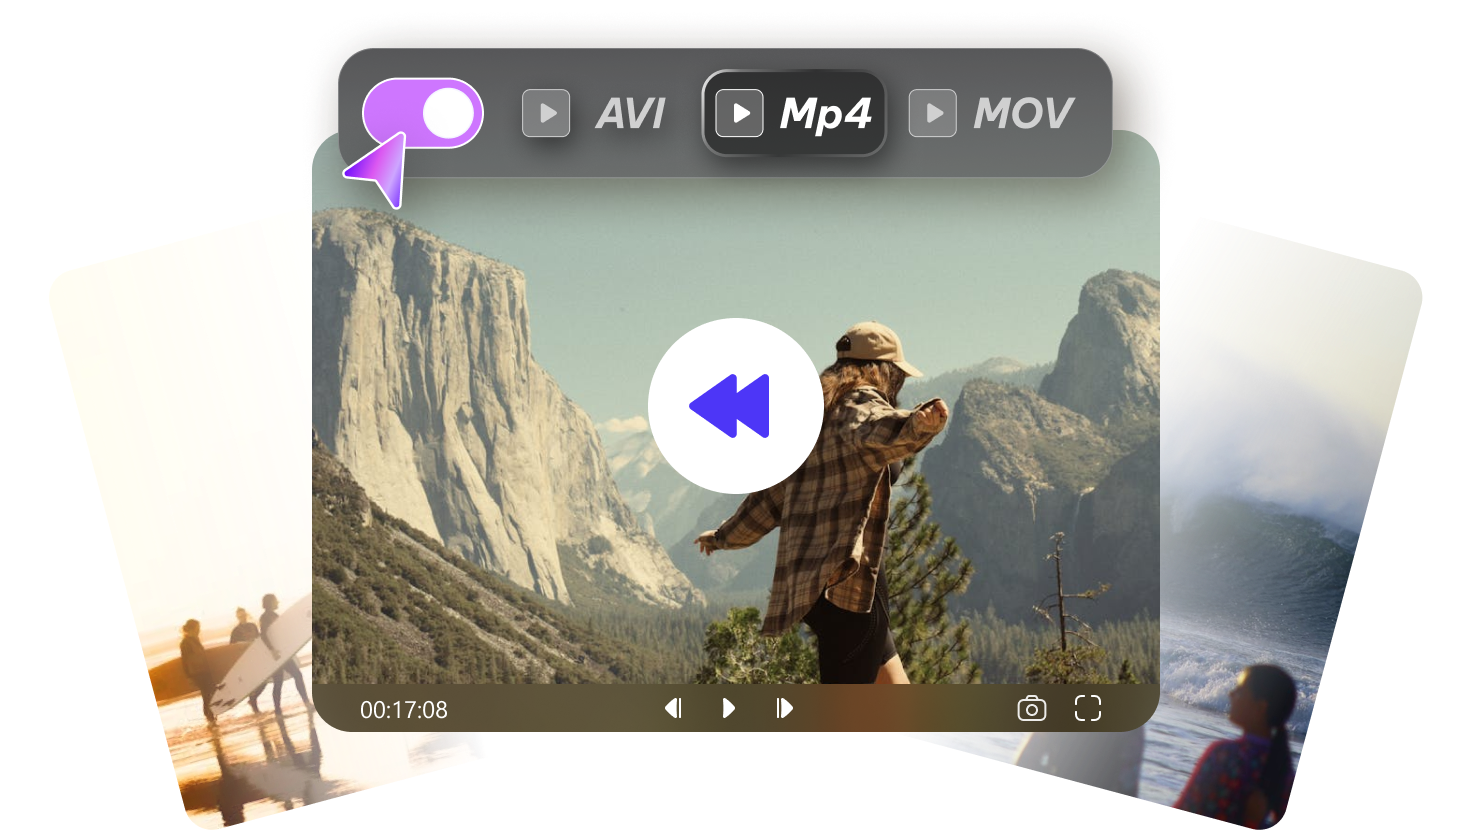
Imagine you’ve just finished shooting a short film, but the footage looks flat and dull on your screen. You want vibrant colors, smooth transitions, and professional-grade effects, but editing feels overwhelming. That’s where DaVinci Resolve Studio comes in. With its powerful tools for color grading, audio enhancement, and visual effects, even beginners can transform ordinary clips into cinematic masterpieces.
In this guide, we’ll walk you through , covering essential tips, practical techniques, powerful alternative, and workflow strategies that will make your videos stand out and impress any audience.

Part 1. How To Improve Video Quality In Davinci Resolve 18
DaVinci Resolve 18 is a professional video editing suite renowned for its advanced color grading, noise reduction, and image enhancement capabilities. Whether you’re a beginner or a seasoned editor, the software offers intuitive tools to transform your raw footage into polished videos. To learn how to improve video quality in Davinci Resolve 18, read the steps mentioned below:
- Begin by launching the tool on your device and pressing the File option. Next, click on the import option and choose Media to add a video.
- Once the video is imported, drag it to the editing timeline. Now, right-click on the thumbnail and pick the Timeline Settings option.
- Access the Format section and choose the Timeline Resolution option. Select the video quality and press the OK button to improve the video quality.
Part 2. How To Increase Video Resolution In Davinci Resolve 19
DaVinci Resolve 19 is a video editing software offering cutting-edge tools for upscaling, color grading, and enhancing every detail of your footage. With features such as color grading and high-quality rendering options, it allows creators to transform low-resolution videos into sharp, professional-looking content. Read the instructions mentioned below to learn how to improve video quality in Davinci Resolve 19:
Instructions. After you have imported the video to the tools’ interface, drag it to the editing timeline. Now, enable the Color section from the bottom and choose the Blur option. Next, acquire the Radius option and make the required adjustments. Once done, press the Play icon to preview the enhancement.
Part 3. How To Enhance Video Quality In Davinci Resolve 20
DaVinci Resolve 20 is the ultimate tool for video creators seeking professional-quality results. With upgraded sharpening features, even ordinary footage can be transformed into visually stunning videos. Whether you're working on personal projects, social media content, or cinematic productions, Resolve 20 gives you the power to refine every frame with ease. Read the steps mentioned below to learn how to enhance video quality in DaVinci Resolve 20:
- Once you have imported the video to the tool's interface, enable the Edit section at the bottom. Now, drag the sharpen tool from the left to the editing timeline.
- When the function is applied, enable the Sharpen option from the properties on the right and adjust the settings according to your preferences to enhance the video quality.
Part 4. How To Change Video Size In Davinci Resolve
With DaVinci Resolve, users also get the ability to change the aspect ratio of the video according to their preferences. Users can select from different aspect ratio options and apply them to their video. To know how to perform the DaVinci Resolve change video size task, read the instructions provided next:
Instructions. To begin, launch the tool and import the video for which you want to change the video size, and right-click on the thumbnail. Now, choose the Timeline Settings and enable its window. Here, access the Format section and choose Pixel Aspect Ratio . Once the size is changed, click on the Ok button to save the changes.
Part 5. How To Improve Video Quality Davinci Resolve Alternative AI
If you are looking for an alternative to enhance the video quality, HitPaw Edimakor is the right choice. The tool is perfect for users who want to learn how to enhance video resolution in DaVinci Resolve alternatives. You have various enhancement options powered by artificial intelligence to get the best results. Follow the steps mentioned below to learn how to use this tool for quality enhancement:
Step 1. Start By Accessing Video Enhancer
Once you have accessed the tool on your device, navigate to its homepage and locate the Video Enhancer feature . To make the selection, click on it and proceed to the next screen.


Step 2. Select Enhancement Option
In the following interface, access the AI Enhancer section from the left and choose the enhancement feature from the options provided. Click the Select button to confirm your selection and move to the following interface.
Step 3. Import Video and Select Quality
Now, import the video for which you want to enhance the quality and select the Resolution option from the options provided. Once done, press the Generate button to execute the process.
Step 4. Save the Enhanced Video
Finally, preview the enhanced video within the preview window, and once you are satisfied with the results, click the Export button to save it to your device.
In Conclusion
To wrap it up, this article provided a complete guide on how to enhance video quality with DaVinci Resolve. The article provided guides for upscaling videos using different versions of the tool. However, if you are looking for a reliable and easy-to-use solution to upgrade the video quality, use Edimakor AI video enhancer . This AI-powered video editor provides various enhancement functions depending on your needs.
Leave a Comment
Create your review for HitPaw articles