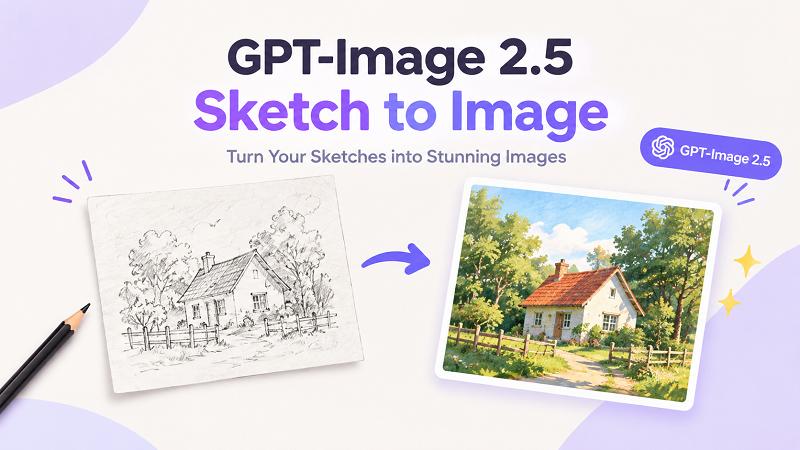
ChatGPT Images 2.5 introduces Sketch, a new feature that turns rough drawings into polished AI images. Instead of starting with a detailed image, you can provide a rough sketch and use AI to develop it into a more complete image while following the original idea and composition.
In this guide, we’ll explore how GPT-Image 2.5 Sketch to Image works, what types of drawings you can transform, and how to write prompts for better results. We’ll also look at how to use sketch to image tools to turn rough ideas into polished visuals.
What Is GPT-Image 2.5 Sketch to Image?
Sketch to Image is a new feature in GPT-Image 2.5 that turns a simple drawing into a finished AI-generated visual. In ChatGPT Images, users can select Sketch, draw an idea, and add written instructions describing the subject, colors, style, or scene they want to create. The sketch provides a visual guide for the composition, while the prompt directs the final look of the image.

Why Use a Sketch Instead of Text Alone?
Text-to-image generation works well when you want broad creative exploration. Sketch-to-image AI is often the better choice when you already know what the image should look like structurally.
| Text Prompt | Sketch to Image |
|---|---|
| Mainly describes the idea with words | Shows the visual structure directly |
| Composition may vary | Composition can be guided by the sketch |
| Harder to control object placement | Easier to indicate positions |
| Good for open-ended creation | Good for visual concepts and drafts |
What Can You Do with GPT-Image 2.5 Sketch to Image
GPT-Image 2.5 Sketch to Image can turn simple drawings into different types of finished visuals. You can use a rough sketch to guide the main composition, then use a prompt to add the style, details, and atmosphere you want.
Character Designs
Turn a basic character sketch into a more detailed character image. Your drawing can show the character’s pose, outfit, or overall shape, while the prompt can define the art style, facial details, colors, and setting.
Product Concepts
Use a rough product drawing to visualize an early design idea. Add details such as materials, colors, background, lighting, and camera angle to create a more polished product visual.
Interior Designs
A simple room sketch can become a detailed interior scene. You can describe the furniture, room style, materials, colors, and lighting to explore different design ideas from the same basic layout.
Storyboard Scenes
Turn rough storyboard drawings into finished scenes for visual storytelling. A sketch can help establish the position of characters and objects, while your prompt adds the setting, mood, visual style, and other details.
Illustrations and Artwork
Transform hand-drawn ideas into polished illustrations or artwork. You can experiment with styles such as anime, watercolor, 3D art, or realistic photography while keeping the main concept from your original sketch.
Concept Visuals
Sketch to Image is also useful for quickly visualizing ideas that are difficult to describe with words alone. Whether you are planning a scene, exploring a creative concept, or developing an early design, a simple drawing can provide a starting point for the final visual.
How to Turn a Sketch into an Image with ChatGPT Images 2.5
Turning a rough drawing into a polished visual with ChatGPT Images 2.5 is simple. Your sketch guides the layout and object placement, while your prompt defines how the finished image should look.
-
Open ChatGPT Images and choose Sketch
Start a new image-creation session, select Sketch, and draw your idea on the canvas. Focus on the main shapes, subject placement, pose, or product angle rather than small details.
-
Create a clear visual guide
Use simple lines to show the key elements of your image. For example, outline a character, product, room layout, or poster composition. A clean sketch helps the AI better follow your intended structure.
-
Add a detailed prompt
Describe the final result, including the style, subject, background, colors, lighting, materials, and aspect ratio. If the original composition matters, state what should remain unchanged.
-
Refine the result with follow-up prompts
Once ChatGPT Images 2.5 generates your image, click Edit to open the image editor. From there, you can use tools such as Markup, Remove BG, Erase, and Resize to adjust the result. You can also type a follow-up request in the Describe edits box to refine specific details while keeping the generated image as your starting point.
Try ChatGPT Images 2.5 in Edimakor AI
Edimakor AI integrates GPT-Image 2.5, giving you another way to create polished AI images from text prompts. Simply describe the subject, visual style, colors, lighting, composition, and background you want, then generate images for creative concepts, social media posts, product visuals, marketing materials, and more.
Key Features of Edimakor AI
- Text-to-Image Generation: Create AI images by describing your idea in a text prompt.
- Multiple Visual Styles: Generate realistic, artistic, cinematic, anime, 3D, and other image styles.
- Prompt-Based Image Editing: Refine colors, backgrounds, objects, lighting, and other details with simple instructions.
- Reference Image Support: Use an existing image as visual guidance for a new creation or edit.
- Photo Effects : Apply creative effects and visual transformations to give photos a new look or style.
- Optional Video Creation: Turn generated images into video projects with animations, music, captions, and effects when needed.
How to use ChatGPT Images 2.5 in Edimakor AI
Step 1: Open AI Image Generator
Go to Edimakor AI and open the AI Image Generator. Select ChatGPT Images 2.5 from the available models.
Try It Now
Step 2: Add a Prompt or Image
Enter a prompt describing the image you want to create, or upload an existing image for image to image editing. Add details such as the style, setting, colors, and lighting for better results.
Step 3: Generate and Edit
Click Generate to create your image. You can then refine the result with additional prompts or make further AI edits until you get the look you want.
Best Prompt Formula for Sketch to Image
1 Character Sketch
Turn this uploaded character line art into a detailed anime-style illustration. Preserve the character’s pose, hairstyle, clothing silhouette, and hand position from the sketch. Add silver hair, glowing blue eyes, a futuristic tactical outfit, and a neon cyberpunk city at night. Use cinematic lighting, rich details, and a vertical 9:16 composition for social media.
2 Interior Design Sketch
Transform this room sketch into a photorealistic modern living-room render. Keep the sofa, coffee table, window, and TV wall in the same positions as the sketch. Use warm white walls, walnut wood accents, soft daylight, natural fabric textures, and minimal contemporary furniture. Create a clean interior-design presentation image.
3 Product Concept Sketch
Transform this uploaded sketch into a premium consumer electronics product advertisement. Preserve the original product angle and centered composition. Show a wireless headphone case with a matte black surface, brushed metal details, and subtle blue accent lighting. Place it in a dark studio environment with cinematic rim light, soft reflections, and a clean luxury-tech aesthetic. Create a high-resolution 16:9 image for a website hero banner.
Tips for Better Sketch-to-Image Results
- Keep your sketch simple and clear. Focus on the main subject, pose, object placement, and overall composition. You do not need to draw every detail.
- Define what should stay the same. Tell the AI which parts of your sketch to preserve, such as the character's pose, object positions, or composition.
- Describe the details you want to add. Use your prompt to specify elements that are missing from the sketch, such as lighting, textures, clothing, facial features, or background details.
- Be specific about the visual style. Instead of simply asking for a better image, describe the style you want, such as realistic photography, anime, watercolor, 3D art, or cinematic illustration.
- Use clear and specific prompts. Include the subject, setting, style, lighting, colors, and mood to give the AI more direction.
- Refine the image step by step. If the first result is close but not quite right, make small changes to one element at a time, such as the background, colors, lighting, or clothing.
FAQs About
A1: No. A simple doodle or basic line sketch can be enough if it clearly communicates the main subject and layout. The goal is to guide the AI, not to create a fully finished illustration by hand.
A2: Yes. Add prompt details such as “photorealistic,” “studio lighting,” “cinematic photography,” “natural textures,” or “high-detail product render” to guide the result toward a realistic style.
A3: Clear sketches with recognizable subjects, simple outlines, and an easy-to-understand composition usually work well. You can use character sketches, product drawings, room layouts, storyboards, or other rough concepts as starting points.
A4: Yes. Click Edit after generating an image to make changes with ChatGPT Images 2.5. You can adjust specific details with a follow-up prompt while keeping the rest of the image intact.
Conclusion
GPT-Image 2.5 Sketch to Image makes it easier to turn a simple drawing into a polished visual. By combining a rough sketch with a clear prompt, you can guide the composition while controlling the final style, colors, lighting, and details.
For prompt-based image creation beyond the Sketch canvas, Edimakor AI also integrates GPT-Image 2.5. Use it to generate, edit, and apply creative effects to images for social media, product concepts, marketing materials, and other visual projects.


Leave a Comment
Create your review for HitPaw articles