
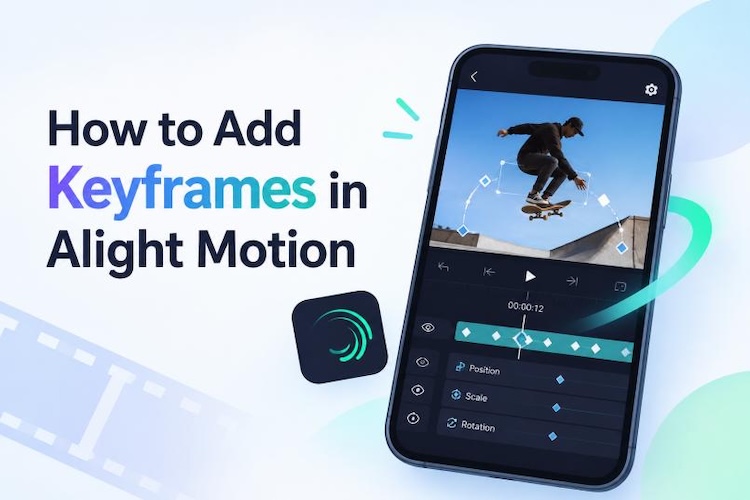
Scroll through an online editing tutorial, and you’ll quickly come across keyframes. They are the foundation of smooth, controlled animation and can make even simple edits look more polished. Many people enjoy creating keyframes with Alight Motion.
Now for beginners, let's learn how to use keyframes in Alight Motion, set them up correctly, avoid common problems, and explore an easier desktop option when mobile editing starts to feel limiting.
What is a Keyframe in Alight Motion?
Keyframes might sound technical, but the idea behind them is simple once you see it in action. Before diving into the how-to, it helps to get the basics straight.
1 What Is Alight Motion?
Alight Motion is a mobile app built for video and motion graphics editing. It's popular for a reason: you can animate text, layer effects, and edit clips without ever leaving your phone.
2 What Are Keyframes?
A keyframe marks a specific point in time and locks in a value such as size, position, opacity, whatever you're adjusting. Think of it as a checkpoint the animation has to hit.
3 How Does Keyframe Animation Work?
Once you set two keyframes, Alight Motion automatically generates the motion between them. This process removes the need to animate every frame manually and produces smooth, consistent transitions.
What Can You Do with Keyframes in Alight Motion?
Once the basics click, keyframes can do much more than simple slide-ins. You can use them to control how different elements move, appear, disappear, or change throughout your video.
- Animate Text and Titles :Text can slide, grow, or bounce into view. This adds a polished, deliberate feel to a project rather than a static presentation.
- Zoom and Scale Transitions : Push in on a photo or pull back from a clip. This is the effect behind most of those cinematic-feeling reveals you've probably seen on TikTok.
- Opacity and Fade Effects : Fade a clip in or out to smooth over a hard cut. It's subtle, but it changes how connected two scenes feel.
- Create Custom Motion Effects : Combine position, rotation, and scale on the same layer to build effects that don't exist as a preset anywhere. Something that's yours.
How to Use Keyframes in Alight Motion for Smooth Animation
Using Keyframes isn't difficult anymore. Here's how to add keyframes in Alight Motion through these simple steps:
- Open Alight Motion, tap "New Project," and pick your video size and frame rate.

- Add your media to Alight Motion. Import a photo, video, or text layer, then tap it once it lands on the timeline.
- Choose a property. Decide what you want to move: position, scale, opacity, or rotation all work here.
- Move the playhead to your starting point and lock in a value. Then slide the playhead forward and change that value again. That's your second keyframe, created automatically.
- Play it back and watch how it moves. If the timing feels off, nudge the keyframes until it clicks.
The process is identical across Android, iOS, and iPad. The steps remain the same on each platform, though the larger iPad screen makes precise adjustments somewhat easier to manage.
A Faster Desktop Alternative to Alight Motion for Keyframe Editing
Mobile editing suits short, simple projects well. However, users working with multiple clips or requiring more precise timeline control may benefit from a desktop editor. HitPaw Edimakor is a strong option.
Key Features of HitPaw Edimakor
- Simple Interface: An accessible, well-organized layout suited to users of all experience levels, making common editing tools easy to find and use.
- Keyframe Animation: Get precise motion control with an expanded, easy-to-navigate timeline for smooth, detailed animations.
- Background Removal : Remove unwanted backgrounds efficiently from videos or images without requiring additional equipment or complex editing steps.
- Smooth AI Transition: Apply polished AI-powered transitions automatically, helping your clips flow smoothly while reducing the need for manual adjustments.


How to Add Keyframes in HitPaw Edimakor
The following steps explain the keyframe process in Edimakor, from selecting a clip to adjusting its properties and creating smooth changes over time. For a complete visual walkthrough, read on.
Step 1: Import Your Media
Open HitPaw Edimakor and import the photo or video file into the media library.
Step 2: Place Media on Timeline
Drag the clip onto the timeline to prepare it for editing.
Step 3: Add a Keyframe Mark
Move the playhead to the desired point and select the keyframe icon to add a mark.
Step 4: Change the Media
Adjust the size, position, or rotation; Edimakor automatically records this as a new keyframe.
Step 5: Preview and Export
Review the animation, then export the finished video once satisfied with the result.
Alight Motion Keyframes Not Working: Common Issues and Fixes
Keyframe issues are common and typically straightforward to resolve. The following are the most common problems and their solutions if Alight Motion keyframes are not working.
- Keyframes are not showing: Confirm that keyframing is enabled for the selected property. Look for the small clock icon beside it.
- The second keyframe is not working: Verify that the playhead was moved before the value was changed. Without this movement, Alight Motion won't create a new keyframe.
- The animation looks too fast: Increase the spacing between keyframes. A greater distance between keyframes gives the animation more time to change, resulting in slower, smoother motion.
- The motion looks choppy or unnatural: Adjust the easing curve. A smoother curve reduces abrupt shifts in movement and helps the animation feel more natural and fluid.
FAQs
A1: A keyframe is a saved point that records a property's value at a specific moment. Alight Motion keyframe tutorial then automatically generates smooth motion between these points.
A2: Move the playhead forward and change the property's value. Alight Motion automatically creates the second keyframe.
A3: Adjust the easing settings, or add additional keyframes for finer control over the motion path and create more natural-looking movement between each point.
A4: This typically happens when the keyframe toggle is disabled, or the playhead isn't moved before a value change. Both should be verified first.
A5: Yes. HitPaw Edimakor provides the same keyframe animation functionality with a larger timeline and more precise controls, making it well suited for larger projects.
Conclusion
Keyframes are essential for producing smooth, professional animation. This guide has covered how to create them in Alight Motion , apply them creatively, and resolve common errors.
For users who want more control and efficiency, HitPaw Edimakor offers an effective desktop alternative. Download Edimakor today to begin creating polished animations with ease.
Leave a Comment
Create your review for HitPaw articles