Watercolor effects are a big trend right now, especially among designers, artists, and content creators who want to give their visuals a soft and artistic appearance. Adobe Illustrator provides several tools and techniques that can help users transform ordinary images and vector graphics into beautiful watercolor-style artwork. Although the process can be complicated for beginners, learning the right tools and techniques can make it much easier. In this guide, we will explain how to create a watercolor effect in Illustrator from start to finish. Read this guide till the end to learn the complete process.
Part 1: How to Make a Watercolor Effect in Adobe Illustrator
How to create a watercolor effect in Illustrator? Adobe Illustrator offers different brushes, textures, transparency settings, and blending options that can be combined to create a realistic watercolor appearance. To get started, follow the instructions below:
- Launch Adobe Illustrator on your PC, bring up the Brushes panel, and then click on the Brush Libraries menu located in the bottom-left corner. Next, navigate to Artistic > Artistic_Watercolor.

- The watercolor brushes will pop up in a new panel window, giving you the option to choose from 12 different available watercolor brushes.
- Choose the watercolor brush that best matches the style you want to create. Click on the brush to add it to the Brushes panel. You can experiment with different brushes to find one with the right texture.
- Select the Paintbrush Tool (B) from the toolbar and draw a few strokes on the artboard. Try different stroke sizes and directions to see how each watercolor brush looks. For a more natural effect, avoid making all the strokes the same size or shape.
- Start drawing. Keep in mind that drawing with a watercolor brush isn’t the same as using a regular brush because a watercolor brush usually has a “direction,” and sometimes it can’t draw a straight line. Start drawing. Keep in mind that drawing with a watercolor brush isn’t the same as using a regular brush because a watercolor brush usually has a “direction,” and sometimes it can’t draw a straight line.
Part 2: Top Methods to Make Watercolor Brushes in Adobe Illustrator
Want to create custom watercolor brushes in Illustrator? There are two ways to make watercolor brushes. You can either make a watercolor brush in Adobe Illustrator itself by creating a bristle brush or scan the real watercolor brush and vectorize it.
Method 1: Create a Watercolor Brush in Adobe Illustrator
Follow the instructions below to learn how to create a watercolor brush in Adobe Illustrator in 2026:
-
Launch Adobe Illustrator on your PC and click on the menu in the top right corner of the brush panel and choose “New Brush.” Select Bristle Brush from the available brush options and click OK.
- Enter a name for your brush and adjust the Shape settings. Choose a rounded, flat, or angled brush shape depending on the type of watercolor stroke you want to create.
-
Next, adjust the Size of the brush. You can also modify the Length, Density, Thickness, and Opacity settings. Experiment with these options until the brush produces an uneven and textured appearance similar to traditional watercolor paint. Click “OK” to save the custom brush.
-
Test the brush by drawing several strokes on the artboard. Try changing the stroke color, size, and opacity to create different watercolor effects.
Method 2: Vectorizing Hand-Drawn Watercolor Brush
If you want a more authentic watercolor texture, you can create a real brush stroke on paper and then vectorize it in Adobe Illustrator. Here is how to do it:
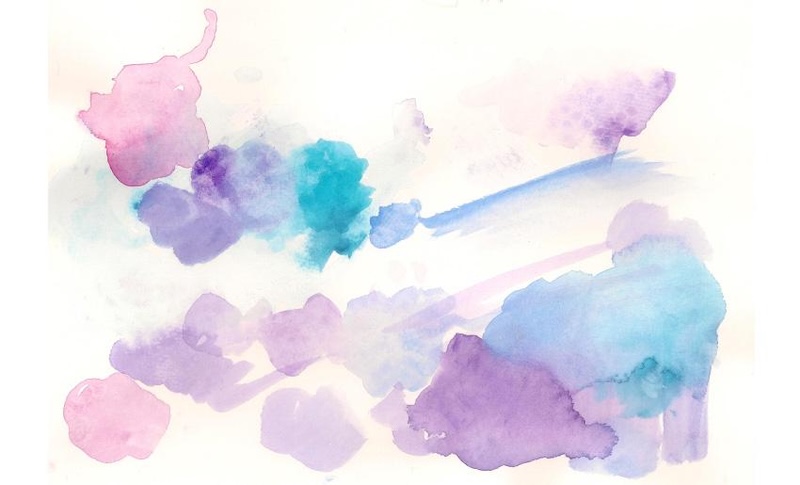
- Start by painting several watercolor strokes on a clean sheet of white paper. Use different brush sizes, colors, and amounts of water to create unique textures.
-
Allow the watercolor strokes to dry completely before scanning them. This helps prevent smudging and ensures that the texture is captured clearly.
- Scan the paper at a high resolution and save the scanned artwork as a PNG or JPEG file. Now, launch Adobe Illustrator and select File > Place to import the scanned watercolor brush stroke.
- Select the imported image and open the Image Trace panel from Window > Image Trace. Choose a suitable Image Trace preset and adjust settings such as Threshold, Paths, Corners, and Noise.
- Click Expand in the top toolbar to convert the traced artwork into editable vector paths. You can modify individual elements of the watercolor stroke.
- With the vector artwork selected, open the Brushes panel and click New Brush. Choose Art Brush and click OK.
- Give the brush a name and adjust its directions, width, and other settings. Click OK to save the custom watercolor brush.
Now, you can use this brush to create a watercolor effect in Illustrator. Upload the image in Adobe Illustrator and use this brush to add a watercolor effect.
Part 3: Alternative Way to Create a Watercolor Effect in 2026
After going through the step-by-step instructions above, you may be looking for an alternative way to add a watercolor effect to your images. That’s where Edimakor AI comes in. It is one of the easiest methods to add watercolor effects to your images. It is an all-in-one AI editor that also offers powerful AI image generation features, including image-to-image, text-to-image, and more. With the help of this tool, users can easily convert existing images into multiple styles, such as watercolor, oil painting, 3D, anime, cartoon, realistic, and more. The program includes a wide range of AI models, each with unique features and capabilities, including Nano Banana, Nano Banana Pro, Flux, Midjourney, Stable Diffusion, and more. Edimakor AI also offers advanced editing features that allow users to customize their generated images. Users can adjust the visual style, refine details, experiment with different prompts, and make additional edits to achieve the desired result.
Create NowKey Features of Edimakor AI
- Image-to-Image: Edimakor AI enables users to convert existing images into various image styles, including watercolor, realistic, 3D, anime, cartoon, cyberpunk, cinematic, and more. Simply upload the image, choose the AI model, and click on the “Generate” button.
- Multiple AI Models: One of the standout features of this tool is that it offers a wide range of AI models, each with unique features and capabilities. It includes AI models such as Nano Banana, Nano Banana Pro, Flux, Stable Diffusion, Midjourney, Seedream, Imagen 4, and more.
- Advanced Customization Options: The program provides multiple customization options that allow users to control the appearance of their generated images. Users can adjust prompts, choose different visual styles, experiment with AI models, and refine the generated results according to their requirements.
- Easy-to-Use Interface: Edimakor AI is designed with a straightforward interface, making its AI image features accessible for beginners. Users can upload an image, select their preferred model, enter a prompt, and generate results without needing advanced editing skills.
- Compatibility: The program works entirely in a web browser, meaning no software downloading or installation is required. It works seamlessly with multiple devices and browsers, such as Windows, macOS, Google Chrome, Opera, Firefox, and Microsoft Edge.
Step-by-Step Guide:
With Edimakor AI, users can create high-quality watercolor-style images with a simple text prompt. Here is how to do it:
Step 1: Go to the Edimakor AI official site and log in with a free account. Choose the “Image-to-Image” feature from the main interface. Select the desired AI model, such as Nano Banana, Flux, Midjourney, Stable Diffusion, and more.
Step 2: Next, click on the “Import” button and upload the image that you want to transform. Users can upload images in multiple formats, including JPG, PNG, and JPEG. Enter the watercolor-style image prompt and choose the image settings, such as aspect ratio and output numbers.
Step 3: Finally, click on the “Generate” button to begin the image creation process. Within seconds, Edimakor AI will convert your image into a watercolor-style visual. Go to “My Creation” and download the result in popular formats, such as JPG, PNG, JPEG, and more.
Part 4: FAQ Related to Watercolor Effect in Illustrator
A1: Yes. Adobe Illustrator provides watercolor brushes that enable users to transform images into watercolor-style images. However, the process is hard and requires basic Adobe Illustrator knowledge.
A2: Illustrator includes watercolor brushes that can be accessed through the Brush Libraries menu. Plus, you can also create custom watercolor brushes. Above, we’ve mentioned the top 2 methods to do it.
A3: No. Adobe Illustrator is not the easiest graphic design software for complete beginners because it offers many advanced tools that require basic Adobe Illustrator knowledge.
Final Thoughts
Illustrator watercolor effect is a great way to turn simple visuals into engaging and creative images. By following the above step-by-step guide, you can easily turn an image into a watercolor effect in Adobe Illustrator. However, if you want the easiest way to do it, we recommend using Edimakor AI. It is an all-in-one AI image generator that enables users to turn images into multiple styles, including watercolor, realistic, 3D, anime, cartoon, and more.


Leave a Comment
Create your review for HitPaw articles