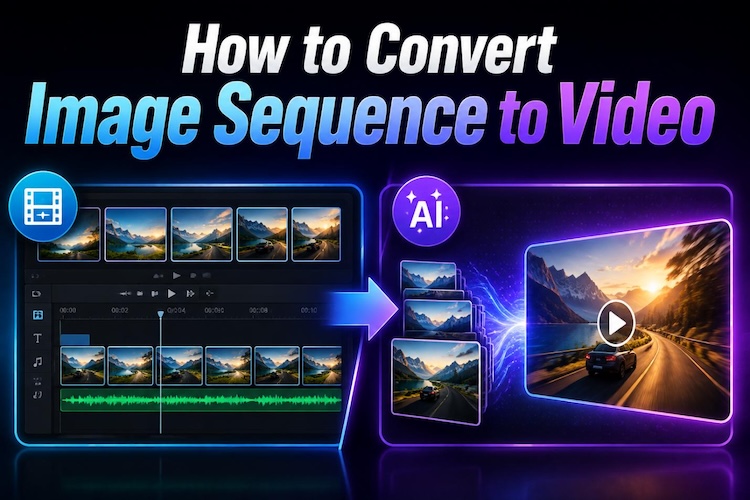
If you have a collection of images and want to turn them into something you can watch, this guide covers two simple ways to convert an image sequence to video. From photo collections to smooth, engaging videos, you’ll discover easy ways to add motion, transitions, and life to your image sequences while choosing the method that best fits your time and editing needs.
What Can You Create From an Image Sequence?
Before you open any software, you should know what you're working toward. Here's what people usually make once they turn an image sequence into a video:
- Photo slideshow videos: String together family photos or event shots into one video you can sit through.
- Travel and memory videos: Turn a phone full of vacation pics into a movie worth rewatching.
- Product showcase videos: Showcase your product from every angle while providing more information to your potential customers.
- Storytelling Videos: Use the photo sequence of video production to create a video from an image sequence like comics, journals, or essays.
- Stop-motion-style videos: Get playful and build frame-by-frame animations out of simple photo sets.
What You Need to Convert an Image Sequence to Video
Before you turn an image sequence into a video, make sure you have the right materials and tools ready.
- You'll want a computer. You can technically edit on a phone, but the small screen and stripped-down tools make precise timing a headache. A computer gives you more room to work and more control over the details.
- Next, you need your image sequence itself. Ideally, the files are numbered or already sorted so you're not hunting for the right order halfway through editing.
- And finally, a video editor. We're using HitPaw Edimakor here; it's a beginner-friendly image sequence video maker with drag-and-drop editing and some genuinely useful AI tools for adding motion.
 HitPaw Edimakor
Method 1: Convert an Image Sequence to Video with Timeline Editing
This is the classic approach. You drop the series of photos onto a timeline, decide its timing to appear on screen, and add transitions between shots. It takes effort, but you get to say over how everything looks and feels.
Step 1: Open Edimakor and hit "Import." Grab your whole image sequence from wherever it's saved on your computer.


Step 2: Drag the photo onto the timeline to play it. Click and pull the edges of the clip to set how long it stays up.
Step 3: Click the space between two clips to view the transition options. A fade, slide, or wipe makes the photos move smoothly from one photo to the next.
Step 4: That's where you can drop in background music, text, or a filter or two to set the mood.
Step 5: Watch it back and check the timing feels right. Once it does, hit "Export" and pick your resolution.

Choose this method if: you like having your hands on every detail; pacing, transitions, the whole feel of it, or you're putting together a slideshow-style video for social media or a personal project.
Method 2: Convert an Image Sequence to Video with Edimakor AI Transition
Regular editing gives you a transition like a fade or a slide between photos. AI Transition works differently. It generates motion between two images, so your video seems to flow and drift naturally from one to the next.
Here's how to convert an image sequence to video using AI Transition:
Step 1: Access Multi Frame AI Transition.
Open Edimakor and find "Multi Frame AI Transition" in the AI tools panel.
Step 2: Import Your Transition Images.
Upload the images you want the AI to animate between. This works best when you feed it a pair or a short handful at a time. You can upload up to seven images.
Step 3: Set Prompts and Duration for Each Transition.
Type out a quick description of the motion you're picturing; a walk, a pan, a zoom, whatever fits, and set how long each transition should run.
Step 4: Choose Resolution and Generate.
Pick your resolution and click "Generate." Edimakor's AI fills in the motion between your stills from there. Now, you have the images turned into a video you can watch and enjoy!
Choose this method if: you want something cinematic and natural without hand-keyframing every move, or you don't have the time to fuss over manual transitions.
Which Method Should You Choose?
These methods turn a photo sequence into a video, but they match different needs.
| Feature | Timeline Editing | AI Transition |
|---|---|---|
| Image sequence | Supported | Supported |
| Manual image arrangement | Supported | Supported |
| Preset transitions | Supported | Not applicable |
| AI-generated motion | Not applicable | Supported |
| Prompt control | Not applicable | Supported |
| Precise timing | Supported | Supported |
| Best suited for | Simple slideshows and precise editing | Dynamic image sequences and AI-generated motion |
FAQs
A1: An image sequence simply means a series of still photos together in a specific sequence; when played one after another simulates motion.
A2: You can upload several photos, but it tends to give you cleaner results if you feed it a few at a time rather than the whole batch at once.
A3: A slideshow clicks through photos one by one. You can edit an image sequence frame by frame, which gives you smoother and deliberate motion.
A4: Yes. Edimakor's AI Transition tool reads your images and fills in realistic movement between them, no manual keyframing needed.
Conclusion
Converting a series of images into a video is much simpler than you think. Whether you’d like using timeline editing or and let AI handle the process, Edimakor helps turn your images into a video with minimal effort. Give it a try and see how your photos can come to life.
Leave a Comment
Create your review for HitPaw articles