Animation can bring your videos to life. But mastering keyframes in After Effects can be tricky for beginners. Many face issues creating smooth motion, precise timing, and realistic effects.
The good news? When you know about keyframes, you can control your animations completely and make anything move the way you want.
This blog will explain what keyframes are, how to add keyframes in After Effects and animate them step-by-step, and some more advanced tricks, such as interpolation and motion paths. We will even suggest a simpler alternative, Edimakor, for faster and easier animation without sacrificing quality. Let’s dig in!
Part 1: Keyframe Basics in After Effects
Keyframes are the basics of animation in Adobe After Effects. They mark points in time where you set a property’s value. The program then fills the movement between those points. This creates smooth and dynamic animations from still objects.
Common Properties You Can Animate
You can animate almost any property with keyframes. Position, scale, rotation, and opacity are the most common. Text animations, masks, and effects can also be controlled with keyframes. Even 3D layers can move or rotate with them. Keyframes give you complete creative control.
Interpolation in After Effects
Interpolation is how After Effects transitions between keyframes.
- Linear interpolation makes steady and equal changes from one point to another.
- Bezier or eased interpolation smooths the motion, creating a natural and flowing feel.
- Hold interpolation freezes a value until the next keyframe, making sudden jumps instead of gradual changes.
Choosing the right interpolation changes the entire look of your animation.
Part 2: How to Add a Keyframe in After Effects?
Adding Keyframes in Adobe After Effects is quite easy. Follow the steps below to find out how to do it in a few minutes.
Step 1: First of all, open your project in Adobe After Effects.
Step 2: Now, set a starting value. Then, click on the Stopwatch icon.

Step 3: Next, move the play head to the preferred position.
Step 4: The last step is to choose the second keyframe. Select the preferred position in the video, and you will successfully place your keyframes.
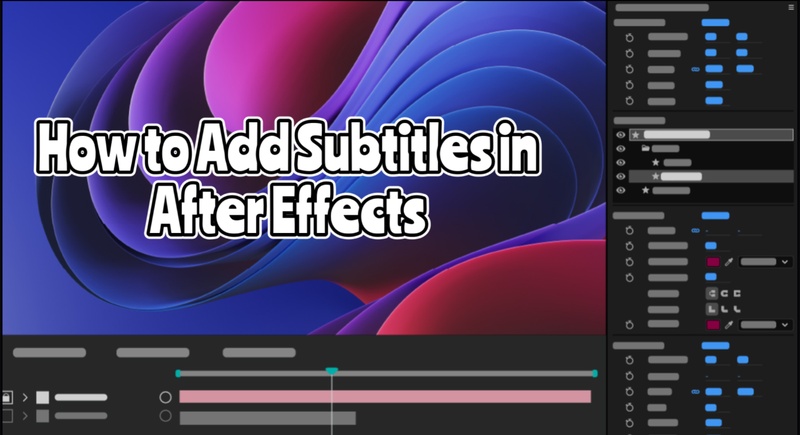
Part 3: How to Animate Text with Keyframes in AE
Step 1: Begin by making a new composition in After Effects, the workspace of your animation. Name it, set the resolution, frame rate, and duration, and click OK to start.
Step 2: With the Text Tool (Ctrl+T), enter your text into the composition and enter what you want. Next, select the font, size, color, and style in the Character Panel, considering readability and brand.
Step 3: Being a novice in After Effects, you may experiment with the preset animation of text, e.g., Fade In or Typewrite, in the panel of Effects & Presets. Just drag one over to your text layer, Spacebar to preview, and edit or change till it tastes good to you.
Step 4: It is possible to edit preset keyframes. Press U to reveal them, time, or some other property like opacity, scale, and place them as you like.
Step 5: The Range Selector lets you animate letters or words at a time. A text may be shown line by line using Start and End sliders. Position, scale, or rotation can also be animated for even more creative effects.
Step 6: Text animation may also be subtle through effects such as Blur, Glow, or Warp. Use keyframes to animate these properties to make smooth transitions, e.g., text blurring and then clearing.
Step 7: Add motion blur for real. Enable Motion Blur in the timeline and enable it for the text layer and composition.
Step 8: Make your text a 3D layer to animate position, rotation, or scale in 3D space. This makes it more dimensional and more cinematic.
Step 9: Before you export your animation, press Spacebar to preview. Exporting is possible through the Render Queue, where MP4 (H.264) can be chosen, a location selected, and Render clicked.
Part 4: Advanced Tips: Interpolation & Smoothing
Once you know how to add keyframes, the second step would be to refine them to achieve smoother interpolation. Such tools cause animations to appear natural and professional.
1 Using Easy Ease
Right-click a keyframe and choose Easy Ease. This slows down the start and end of motion, giving it a smoother flow. It avoids stiff, linear movement.
2 Graph Editor for Precision
The Graph Editor gives detailed control over speed and timing. You can adjust curves to make animations accelerate or slow down naturally. This creates a more realistic feel.
3 Customizing Motion Paths
For position animations, adjust the bezier handles on motion paths. This lets you smooth or bend the movement path, adding fluidity and style to your animation.
Part 5: Troubleshooting Common Keyframe Issues
Even with practice, keyframe issues can frustrate beginners. Many After Effects users share the same problems on Reddit, and the community often provides simple fixes.
Keyframes not working
A common issue is when keyframes don’t seem to animate. Redditors suggest checking if the stopwatch is enabled. Without it, After Effects won’t record changes. Another fix is making sure the playhead is in the right spot before adjusting values.
Animations look too stiff
Sometimes motion feels robotic. According to Reddit users, this happens when all keyframes are set to linear. Switching to Easy Ease or adjusting curves in the Graph Editor instantly smooths things out.
Keyframes disappearing
If keyframes vanish, chances are the timeline is zoomed in too far. Several Reddit threads recommend pressing the U key to reveal all keyframes quickly. This trick helps beginners spot missing or hidden keyframes.
Unexpected jumps or glitches
Another issue is sudden jumps in animation. Users point out that this often comes from duplicate keyframes placed too close together. Deleting extras usually fixes it.
Motion blur is not showing
Sometimes motion blur won’t appear even after enabling it. Reddit users advise double-checking both the layer’s blur toggle and the global motion blur switch. Both must be on.
Part 6: Keyboard Shortcuts to Speed Up Your Workflow
Keyframes are powerful. But working with many of them can get messy. Shortcuts make editing faster and cleaner. They keep you focused on animating instead of wasting time clicking around the timeline.
The Keyframe Navigator
Once you place a keyframe, the keyframe navigator appears in the timeline. You can alternate them in a short period of time. Press K to go to the next key frame. To get back to the previous one, press J.
Removing Keyframes
To remove a single keyframe, use the same shortcut you used to set it. That could be ALT/OPTION + A, P, S, R, or T, depending on the property. Make sure your playhead is over the keyframe and the layer is selected.
Deleting Multiple Keyframes
For multiple keyframes, marquee-select them. They’ll turn blue when highlighted. Then hit Backspace or Delete to delete them. In case you delete the one you do not want, undo by Ctrl+Z or Cmd+Z.
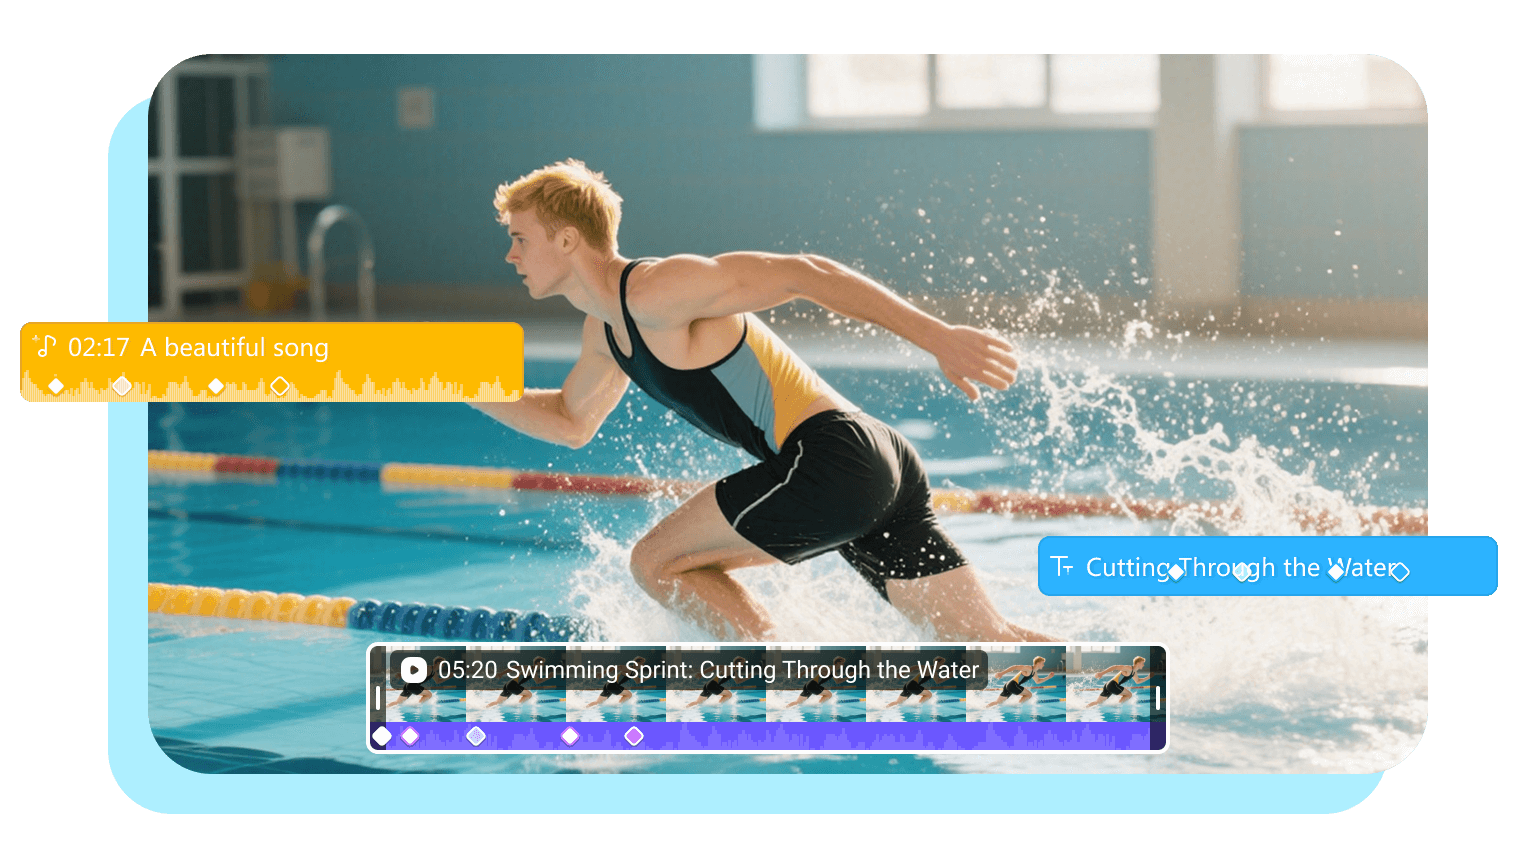
Part 7: Best Alternative to After Effects Keyframe
After Effects is powerful but not always easy; beginners often find it overwhelming. Edimakor offers a simpler way. It’s fast, easy to use, and still gives you creative control. You can animate, edit, and export without long tutorials. Perfect for beginners and even pros who want speed.


Why Choose Edimakor?
- Easy keyframing with just a few clicks.
- Drag-and-drop editing for quick workflow.
- AI tools like auto captions and background removers.
- Smooth text and motion effects are ready to use.
- Fast export in formats like MP4
- Lightweight software that runs on most systems
Edimakor makes editing stress-free. You spend less time learning and more time creating. It’s a smart choice if you want After Effects results with an easier process.
Conclusion
Now that you know how to add keyframes in After Effects. Knowledge of keyframes can change your editing. They give you all the freedom of movement, time, and effects, such that your animations are smooth and professional. But let’s be honest—it is a matter of time and practice.
When you are new, it might seem very daunting. That’s where Edimakor steps in. It is far easier, but quite effective. You can drag, drop, and move keyframes easily. It is easy to use and has functions of AI editing, easy text animation, and transitioning. Consider Edimakor, especially when you need great results and you want to work less.
Leave a Comment
Create your review for HitPaw articles