Ever notice a constant hiss while listening to a recording? That’s called white noise.
It can make music, podcasts, or voiceovers hard to enjoy. Some fail to repair it, wasting their time and efforts. The solution to this is easier than that.
By simple steps and the correct tools, you can clean up your audio and make it sound professional.
In this guide, we will discuss how to remove white noise from audio. You will learn practical methods that anyone can follow. Without further ado, let’s get started!
Part 1: What Is White Noise?
White noise is a sound made from all the frequencies humans can hear. Every tone is played together at the same level. The result is a steady, even hiss.
The word “white” is borrowed from light. White light holds every color mixed together. A prism or a rainbow can split that light into parts. Sound works the same way. White noise is all the sound frequencies combined.
It can be imagined as thousands of tones at once. Low notes and high notes overlap without pause. This creates one continuous stream. The ear hears balance, not chaos. That’s why people describe it as smooth and constant. White noise feels simple, steady, and effective for blocking unwanted sounds.
Part 2: Remove White Noise with Edimakor Video Enhancer
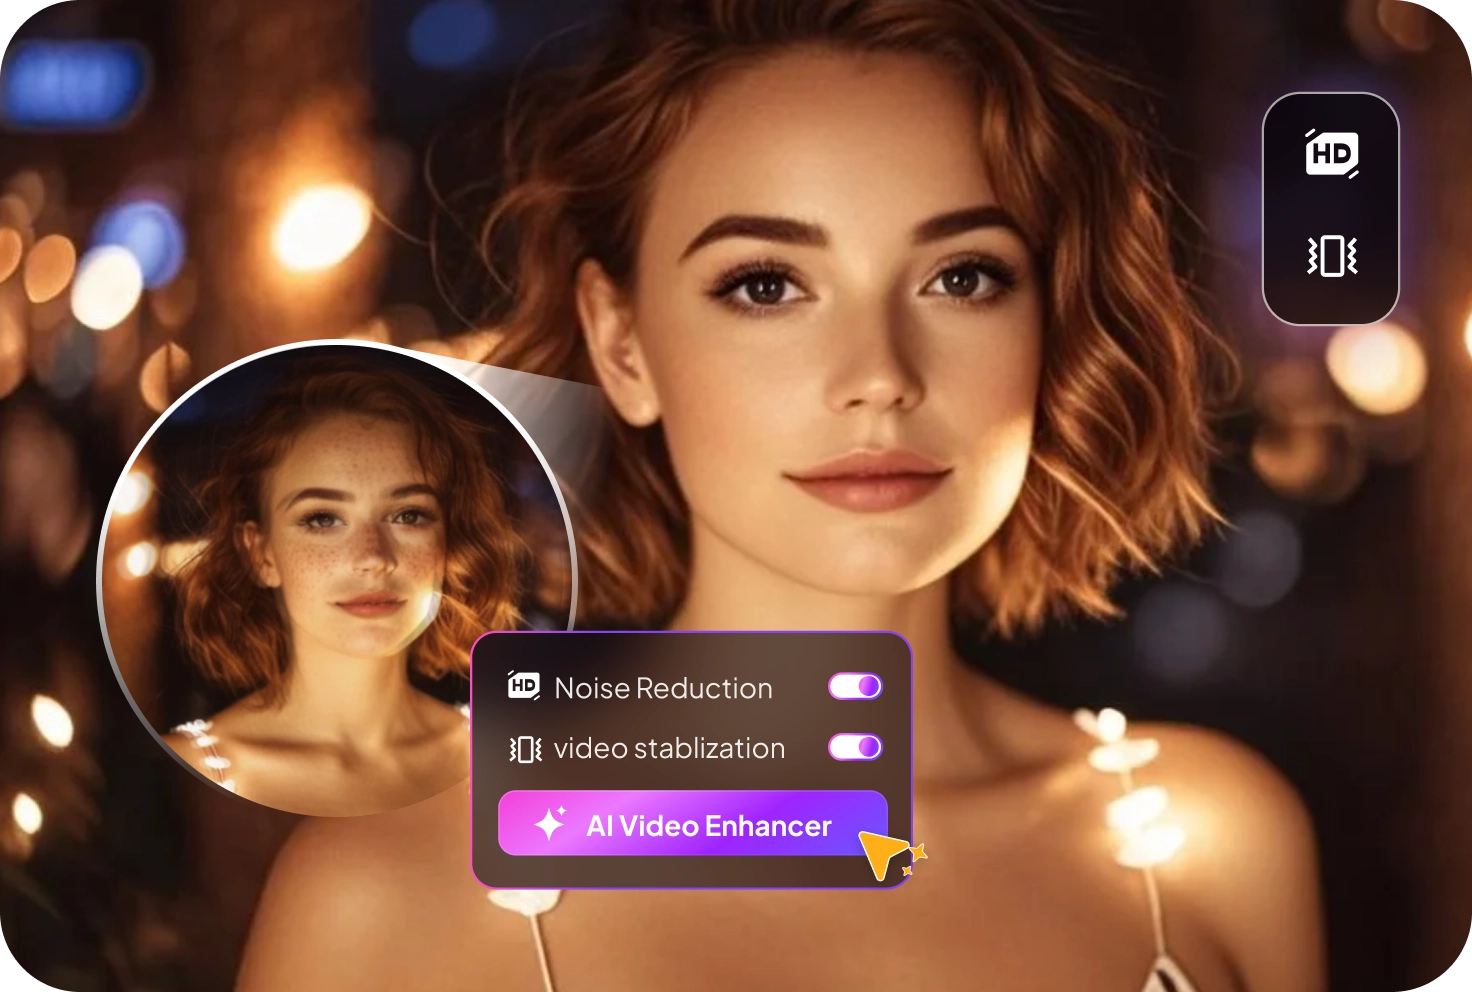
Edimakor Video Enhancer makes it easy to clear up unwanted noise from your videos. This toolkit cleans up your footage by reducing noise and fixing shaky shots at once. Its smart stabilization keeps the full frame intact while moving, looking smooth. Every clip comes out clearer, steadier, and ready to use.


Have a look at the steps below to understand how to use Edimakor Video Enhancer.
Step 1: To begin with, download and install Edimakor on your computer. Launch the tool. Then click "Video Enhancer" from the main interface.

Step 2: Select the mode you want to enhance your video—for example, an AI enhancement.
Step 3: Now, upload your video and select the resolution. Finally, click "Generate" and your enhanced video will appear on "My Creations".
Part 3: Remove White Noise with Edimakor Background Noise Remover
The Edimakor Background Noise Remover removes all the undesired noise within your music and makes the voices sharper and clearer. It is an effective podcast, video, and call tool where audio quality counts. The tool enhances the quality of sound in real-time, making your content have a polished look.
Let’s look at how to use Edimakor's background noise remover.
Step 1: First, download and install HitPaw Edimakor . Go to Noise Reduction from the Toolbox to launch the noise reduction tool.
Step 2: Next, import your audio file and turn on the Noise Reduction button. The tool will automatically remove all background noise immediately.
Step 3: When Edimakor reduces noise for your files, click the Export button to download the file for further use.
Part 4: Remove White Noise with Audacity
Audacity removes annoying background noise so your recordings sound clear. It makes voices and music stand out without distractions. Audio feels smoother and more natural. The end result is more professional. The steps on how to remove white noise from audio using Audacity are as follows
Step 1: The first step is to launch Audacity. To open and add the file, click File > Open. Then select the audio file you want to edit.
Step 2: Now, select a portion of the audio that contains only noise. For this, use the Selection tool to select the noise. Make sure this part does not contain any speech or other audio.
Step 3: Once you have selected the noise portion, go to Effect > Noise Reduction.
Step 4: After the Noise Reduction window shows up, click Get Noise Profile. The Noise Profile button allows Audacity to know which frequencies to ignore and which to filter out.
Step 5: Now that Audacity has the profile of what the noise sounds like. It can start removing it from the rest of your recording. Choose the whole recording (Ctrl+A). Then, hit Effect > Noise Reduction again. This time, adjust the level of noise reduction according to your preference and click OK.
Step 6: Finally, save your edited file as File > Save Project > Save Project As. Your audio file is now noise-free.
Part 5: Remove White Noise with Audition
Adobe Audition cleans up background noise, making recordings sound clear and smooth. It brings out voices and instruments without distractions. Audio feels natural and professional. The final sound is smooth and entertaining.
The following are the steps to remove the white noise in audio using Adobe Audition.
Step 1: First of all, open your audio file in Adobe Audition.
Step 2: Choose Effects > Noise Reduction / Restoration > Noise Reduction.
Step 3: Next, capture a print of only the background noise. Choose the area to capture and hit Capture Noise Print in the pop-up window.
Step 4: Turn up the Noise Reduction and ‘Reduce by’ settings to reduce the noise.
Part 6: How to Prevent White Noise in Audio
Getting clean audio involves planning ahead. Such few and easy habits can save a lot. Even minor changes can save some time and effort in the future. Ensuring that you focus on your setup initially ensures that your recordings are clear and natural.
1 Record in a Quiet Space
Select a room that is not noisy. Avoid traffic, air conditioners, and fans. Couches, curtains, and rugs are some of the soft furniture that help absorb any stray sounds. A quiet environment provides your audio with smooth and natural sounds.
2 Use a Voice-Focused Mic
Dynamic microphones are great for spoken audio. They pick up your voice clearly while ignoring most background noise. Condenser mics catch more detail but can bring in unwanted sounds. A Samson Q2U works well and won’t break the bank.
3 Lower Gain and Speak Close
Turn down your mic’s gain. Speak close to the microphone. This strengthens your voice and reduces extra noise. Your recordings will sound steady and full.
4 Keep Computers Quiet
Computer fans make noise that shows up on recordings. Point the mic away from your machine. Close unnecessary programs to keep the system calm and quiet.
Following these steps helps you avoid white noise from the beginning. Your audio will be smoother, clearer, and more professional, requiring less editing.
Conclusion
The process of learning how to remove white noise from audio can turn out to be life-changing for your records. Any recording can be improved by eliminating white noise. Begin by choosing a room with no or minimal noise and using rugs or curtains to soften stray sound. A dynamic mic helps focus on your voice while speaking close and keeping the gain low cuts extra noise.
Computers can add noise, so keep fans quiet and close extra apps. Small steps like these save time during editing and make your audio more professional. If you want a simple way to clean up any noise quickly, Edimakor is a reliable choice for clear, crisp recordings every time.
Leave a Comment
Create your review for HitPaw articles