Are your videos looking a bit blurry or not as clear as you'd like? Want to make them look sharper and more professional so they grab people’s attention?
You're in the right place! In this easy guide, we’ll show you step-by-step how to sharpen videos using tools like Edimakor and Adobe Premiere Pro. Whether you're editing a vlog, school project, or short film, these tips will help you make your videos look crisp and clear.
Let's get right into it!
Part 1: What Does Sharpening a Video Do?
Video sharpening is the process of editing the video to make it appear crisp and clear. This is done by manipulating the pixels, which in turn adds detail and texture to the video, helping objects within the video appear more distinguishable.
A higher sharpness can help increase the detail and definition of the video, whereas low sharpness makes the video look softer and less detailed. People usually use sharpening on low-quality or old videos to make them look more detailed and professional. It helps the viewer view elements more clearly and improves the overall look of the video.
Part 2: Sharpen Video With Edimakor
If you're looking for a video editor that’s super easy to use and will let you sharpen video quality within seconds, then HitPaw Edimakor is the most suitable video editing tool for you. It has a simple interface that’s great for beginners, while still offering all the powerful tools needed for high-quality video editing.
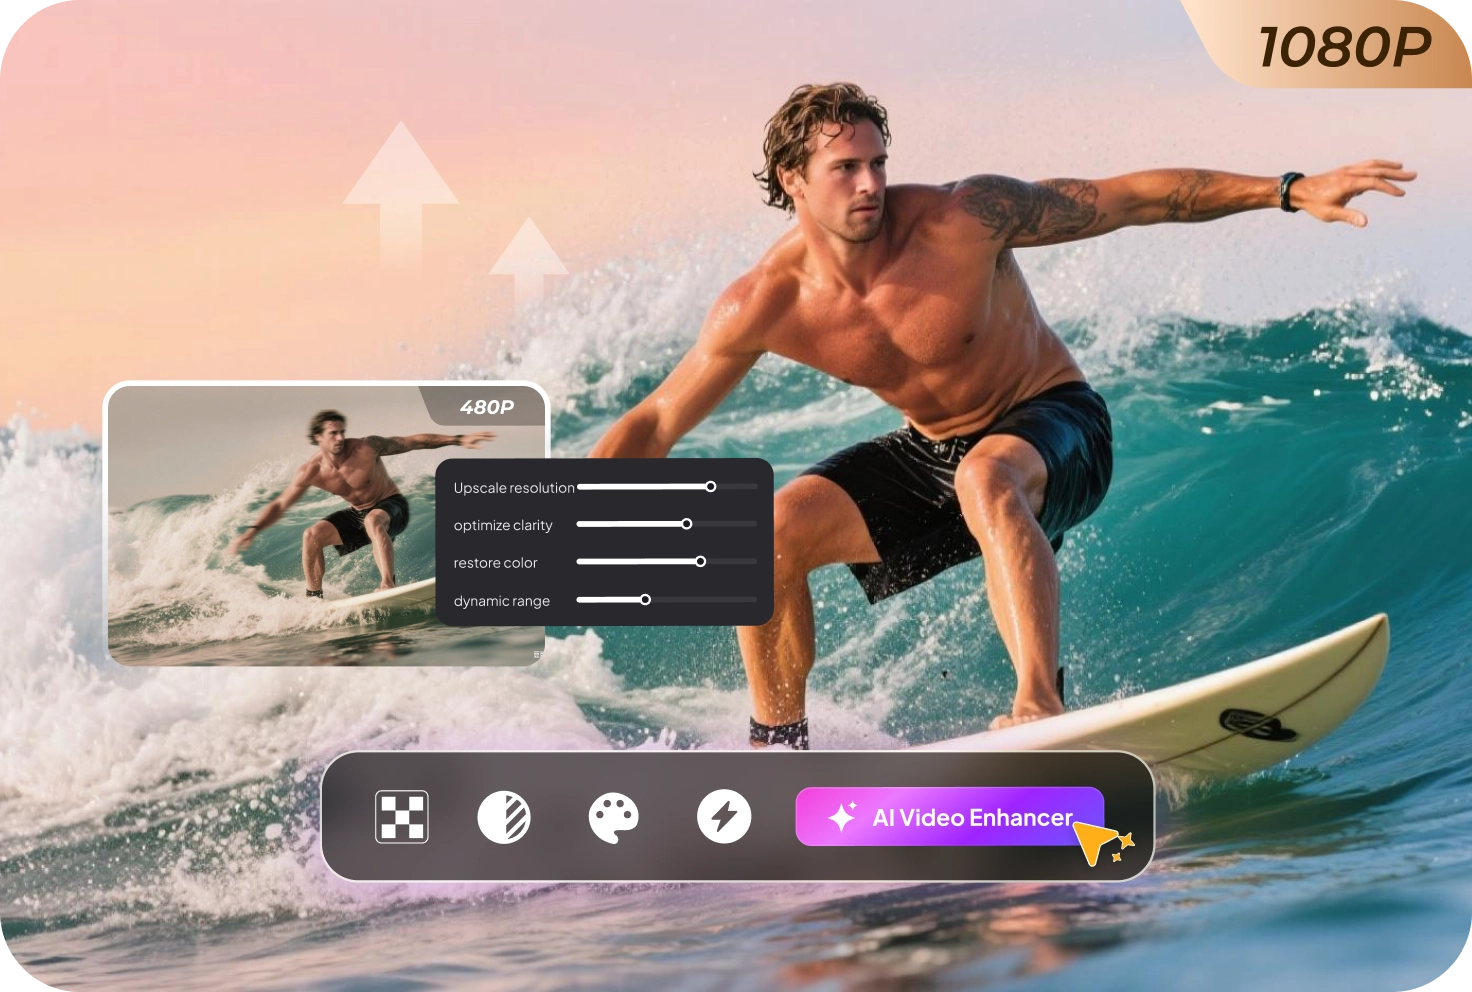
With its new video enhancer feature, you can instantly enhance video quality within seconds, bringing out vibrant colors and crisp details. Whether you're fixing a blurry clip or improving overall sharpness, Edimakor’s video enhancer makes the process quick and effortless.


Here’s how you can sharpen your videos using Edimakor:
Step 1: Open the Hitpaw Edimakor app and click on “ Video Enhancer .”

Step 2: Choose the enhancement mode from the toolbar on the left. For video sharpening and overall quality improvement, the most effective options are “AI Enhancer” or “Quality Repair.”
Step 3: Import the video you want to sharpen. After choosing the mode, choose the resolution of the video and then click on “ Generate .”
Step 4: The video will be enhanced automatically; once the process is complete, click on ' Export ' to save your sharpened video.
Part 3: How to Sharpen a Video in Premiere Pro
Adobe Premiere Pro is a powerful video editing software used by professionals and beginners alike. It offers many tools to improve video quality, including several ways to sharpen your footage. With just a few steps, you can make your blurry videos look clearer and more detailed. There are 3 methods that you can use in Premiere Pro to sharpen videos.
Method 1: Basic Sharpening in the Effects Panel
Premiere Pro offers a straightforward sharpen effect that you can easily apply to your video. Here’s how to use the basic sharpening tool from the Effects Panel:
Step 1: Start by importing the video you want to edit into Premiere Pro.
Step 2: Drag the video you imported from the “ Project Panel ” to the “ Timeline Panel. ”
Step 3: Go to the “ Effects panel ” and search for the “ Sharpen ” effect. You can also find the effect by going to “ Video Effects ” and then selecting “ Blur & Sharpen .” From the dropdown menu, select “ Sharpen. ”
Step 4: Drag the effect and drop it onto the video clip in the timeline. Click on your video clip in the timeline, then go to the “ Effect Controls ” panel. Look for the Sharpen effect there.
Step 5: The value would be set to 0 by default. This shows that no sharpening effect is applied to the video yet. You can increase this value to suit the amount of sharpening the video needs. For subtle sharpening, a value between the range 10 and 25 would be suitable.
Method 2: Lumetri Color Panel
The Lumetri Color Panel is a powerful tool in Premiere Pro that lets you adjust colors and sharpness to improve your video’s look. Follow these steps to sharpen your videos:
Step 1: Go to the effects panel and search for “ Lumetri Color .” Apply it to the video clip you want to sharpen.
Step 2: Go to the “ Creative tab ” in the Lumentri Color Panel. You can find different image adjustment parameters, including the “Sharpen” slider.
Step 3: You can use the “ Sharpen Slider ” to adjust the sharpness of the video. Any value between 20 and 40 is usually enough to enhance clarity.
Method 3: Unsharp Mask
The Unsharp Mask effect gives you more control over how your video is sharpened, letting you adjust the intensity and focus of the sharpening. Here’s how to use it in Premiere Pro:
Step 1: Go to the Effects Panel and search for “ Unsharp Mask .” Apply it to the video clip you want to sharpen.
Step 2: Click on the video clip in the timeline and go to the Effects Controls panel. Navigate to the “ Unsharp Mask” effect and set the following values to get the desired sharpening effect:
- Amount : This adjusts the intensity of the sharpening effect. Set the value between 30 and 70.
- Radius : This controls the size of the parameters where the sharpening effect is applied. Set the value between 1 and 2.
- Threshold: This controls how much of the image gets sharpened. Keeping the value at 0 sharpens the whole image; higher values focus only on high-contrast areas.
Part 4: Sharpen Video Online
If you don’t want to download any software, you can sharpen your videos using online tools. These websites use AI sharpen video technology to quickly improve video quality right from your browser. They are easy to use and perfect for beginners. Here are the top video editors you can use to sharpen your videos:
1 HitPaw Online Enhancer
HitPaw online enhance is a free online tool to make your videos clearer in 4K! This safe AI enhancer improves video quality with just a few clicks, with no editing skills needed.
Here's how to sharpen videos using this software:
Step 1: Go to HitPaw Online Video Enhancer and upload the video you want to edit.
Step 2: Click on “ Face Model ” and select “ Sharp .”
Step 3: Click on “ Preview ” to view the changes before finalizing.
2 Cutout.pro
Cutout.pro is another AI-powered tool that makes video enhancement quick and easy. This tool is 100% automatic, and can sharpen videos, improve clarity, and upscale resolution in seconds, without any video editing knowledge required.
Just follow these simple steps to enhance your video:
Step 1: Go to Cutout.Pro and select “AI video enhancer” and upload the video you desire to sharpen.
Step 2: Choose your desired enhancement level (which includes sharpening). Cutout.pro shows a 3-second preview so you can decide to enhance or adjust.
3 Flixier
If you’re looking for an online AI video editor tool that’s free and offers plenty of editing features, then Flixier is the right choice for you. With this video editor, you can add filters to your videos, sharpen them, add audio and texts, and much more.
To sharpen videos using Flixier, follow these steps:
Step 1: Go to Flixer AI video enhancer. Upload the video and drag it onto the timeline.
Step 2: Next, go to the colors tab on the right side of the screen and click on the “ Sharpen” filter.
Step 3: Once the filter is applied, you can export and download the video.
Conclusion
Sharpening a video makes it look clearer and more detailed. You can sharpen videos using desktop tools like HitPaw Edimakor, which is easy for beginners, or Adobe Premiere Pro, which offers more advanced options. If you don’t want to install software, online tools like HitPaw Online Enhancer, Cutout.pro, and Flixier let you sharpen videos quickly using AI.
Leave a Comment
Create your review for HitPaw articles