Using the Speech to Text feature, you can recognize the speech from audio and video files and transcribe them into text/subtitles automatically. And you can also customize the text and change its style, color, font, and indent.
Part 1. Import Videos/Audio to HitPaw Edimakor
Open the Edimakor software, click on Create a Video, and click on 'Import' button at the 'My Media' tab on the main interface to add the audio or video file.
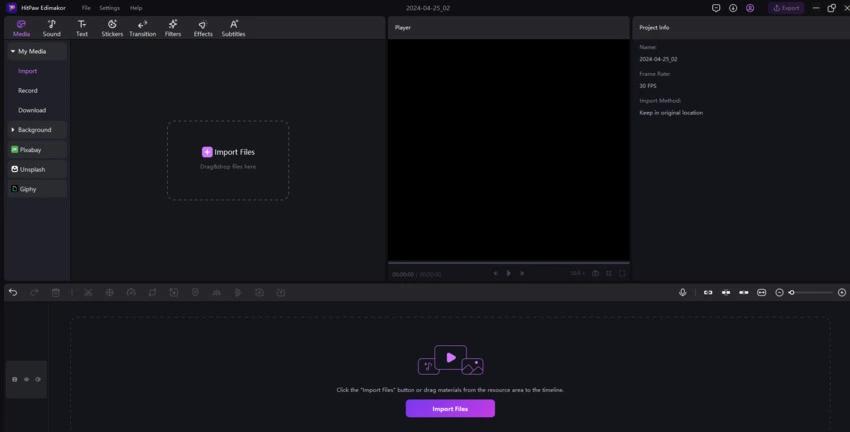
You can also access the Speech to Text feature in the Toolbox. Click on it and select your desired file.
Part 2. Start Speech to Text
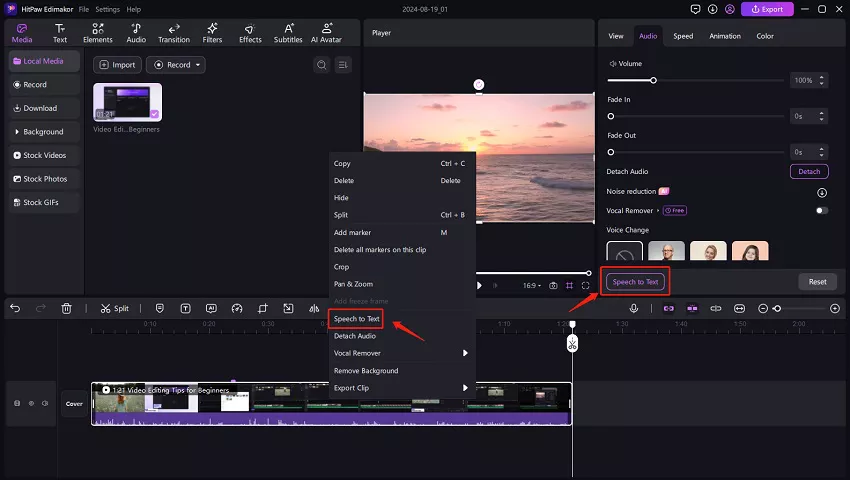
Once the video is added, drag and move it to the timeline below. Click on the video track at the timeline and then from the 'Audio' tab on the right-side panel, click on 'Speech to Text' option. Alternatively, you can right-click the video timeline and choose 'Speech to Text'.
Part 3. Preview the Text and Customize
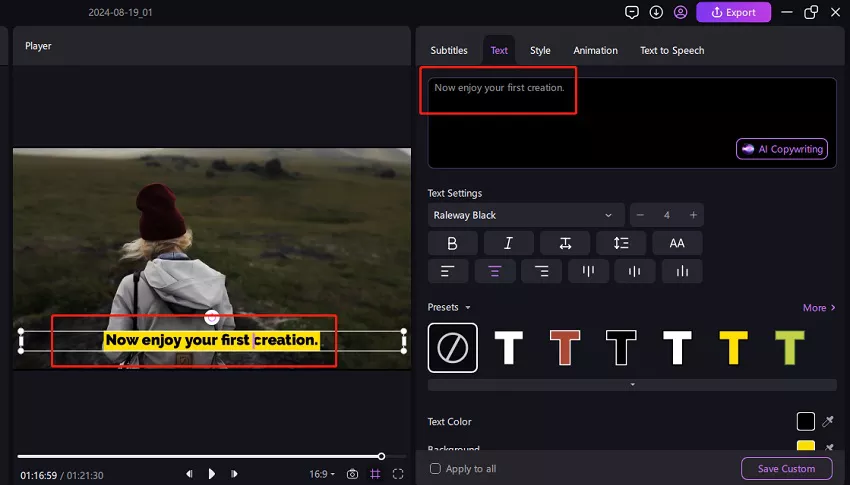
The software will start recognizing the speech and display the transcripted text above the video track on the timeline. Click on it and change the text if needed along with font, size, indent, and more in the Text tab on the right-side window.
On the preview window, you can move the placement of the subtitle too.
Part 4. Save the Text File and Export the Video
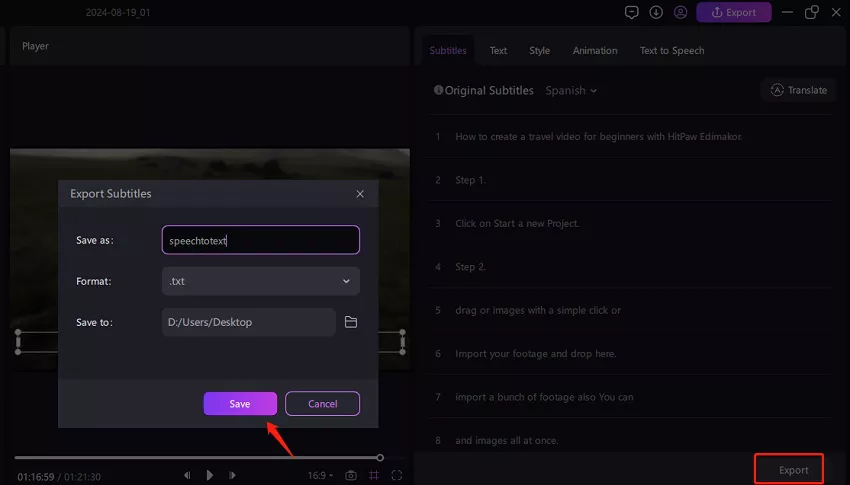
To save the trasncrition, click on the 'Export' button from the 'Subtitles' tab, and you can save the text as srt, ass, vtt, or text file.
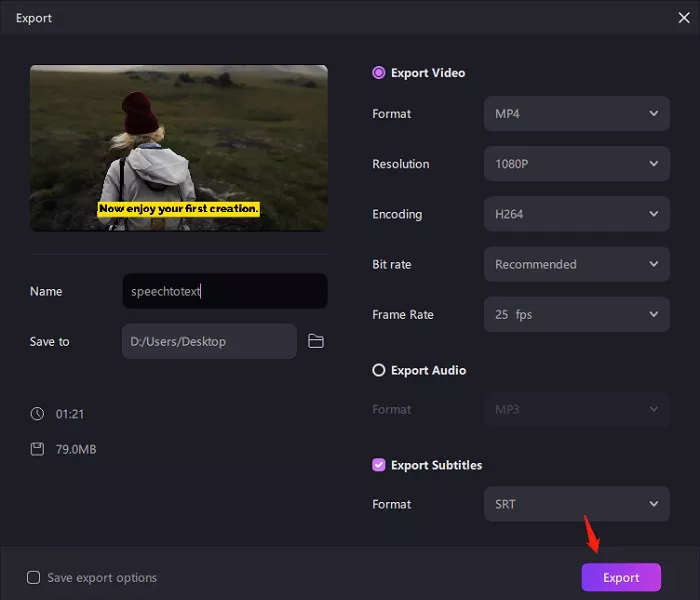
When all changes are done, click on the 'Export' button on the top menu bar and a new pop-up Export window will open. Here choose the video’s Format, Resolution, Encoding, Bitrate, and Frame Rate. Also, type the file name, select the folder and finally click on the 'Export' button to save the video with subtitles.
Video Tutorial on Speech to Text
Watch the video tutorial on how to use Edimakor to convert speech to text.
