The process to add subtitles with Final Cut Pro to your videos is a crucial ability for producing interesting and approachable content. The Final Cut Pro subtitles languages can increase worldwide reach and audience comprehension whether you're editing on a laptop or an iPad. By following this method, you can make sure that your films appear polished and professional in 2025.
HOT
Part 2: How to Add Auto Captions in Final Cut Pro Part 3: How to Change Caption Font in Final Cut Pro Part 4: How to Add Subtitles in Final Cut Pro iPad Part 5: Best Final Cut Pro Caption Generator Alternative - EdimakorHOT
FAQs on How to Add Subtitles in Final Cut Pro Last WordsPart 1: How to Add Subtitles in Final Cut Pro Laptop
If you are a laptop user and want to know how to add subtitles using Final Cut Pro then the following steps will be beneficial for you.
Step 1: Open Final Cut Pro and Import your Video
To begin, import the video you wish to add subtitles to into Final Cut Pro on your laptop. Find your video file, click File then Import Media, and then add it to your timeline. You will use this workspace to add and edit your video's subtitles.
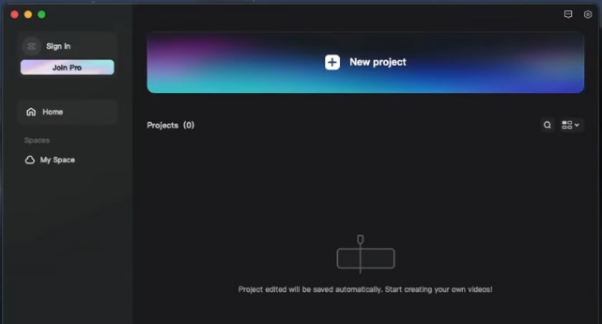
Step 2: Give Subtitles a Title
Go to the Titles and Generators area located in the interface's upper-left corner. The Basic Title or Custom Title options can be dragged and dropped onto the timeline above your video track. Place the title where you would like the subtitle to show up. This will be the starting point for making the text overlay, giving you flexibility over its positioning and duration.
Step 3: Personalize the Subtitle
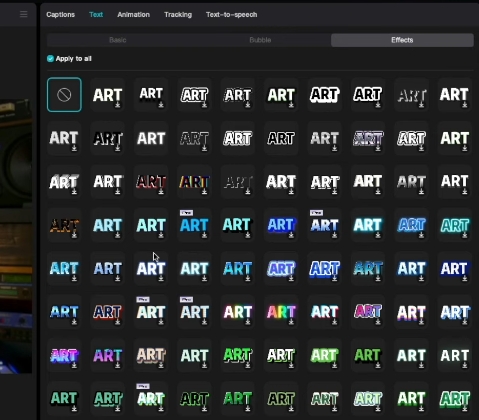
Text To access the Inspector Panel on the right, double-click the title in the timeline. Customise the font, size, colour, and alignment of the subtitle text by typing your preferred text. Additionally, you can drag the text to the desired location in the viewer to change its position.
Step 4: Sync and Complete the Subtitles
To make sure the subtitles and audio are in sync, play back your video. Drag the margins of each subtitle in the timeline to change how long it lasts. For every subtitle in the video, repeat these steps. After you are happy, choose File, Share and then Export File to export your video, making sure the subtitles are included in the finished product.
Part 2: How to Add Auto Captions in Final Cut Pro
With Final Cut Pro's integrated Transcribe to Captions tool, creating subtitles is a simple process. Here's a step-by-step guide to creating subtitles:
-
Step 1: Get Your Project Ready
Launch Final Cut Pro and open your existing project or start a new one to add Auto Captions for Final Cut Pro. Drag the video file into the media library to import it for subtitles. Make sure your video is prepared for editing by dragging it to the timeline.
-
Step 2: Start the Transcription Process
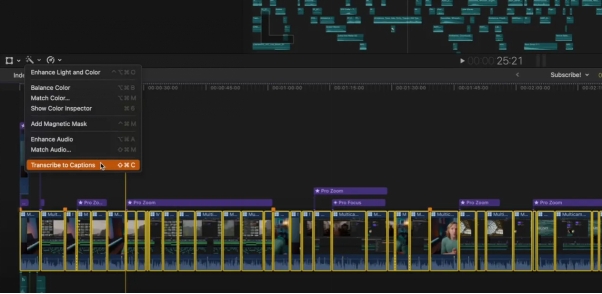
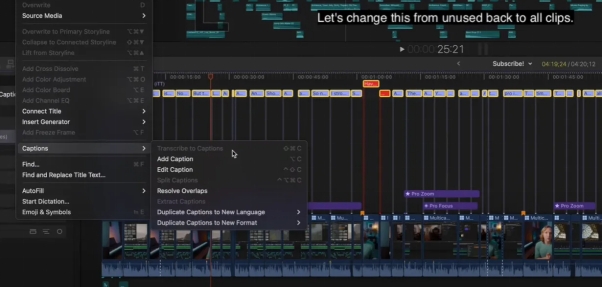
Highlight the audio clip or track that has the conversation once your video is in the timeline. In the Final Cut Pro interface, navigate to the Captions section and select Transcribe to Captions. You will be prompted by the software to verify the language and other options.

-
Step 3: Examine the Captions That are Generated
The created captions will eventually appear on the timeline in Final Cut Pro, aligned with the music. To examine the text, open the captions panel. Go over the transcription carefully, and if needed, make changes. To make the material more readable and clear, fix any errors or make revisions.

-
Step 4: Modify the overlap and timeframe
There will be minor differences in the captions' timecodes. To align the subtitle blocks with the audio, slide them. You may choose Edit, Captions, and then Resolve Overlaps, if two captions overlap. Any overlap will be eliminated as a result. Simply play the movie to see if the captions that were previously overlapping are synchronized.

-
Step 5: Make the Captions Your Own
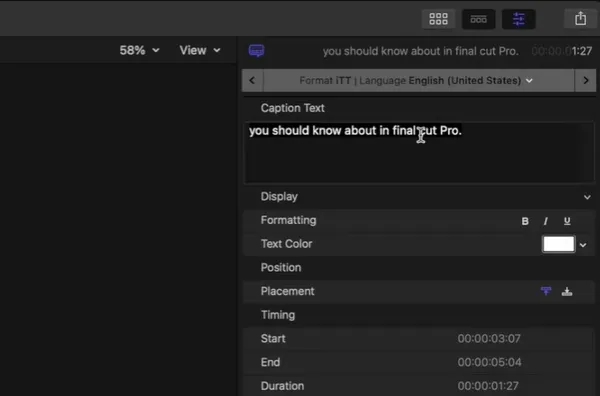
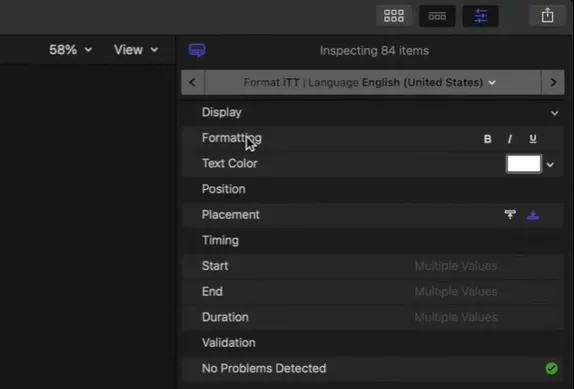
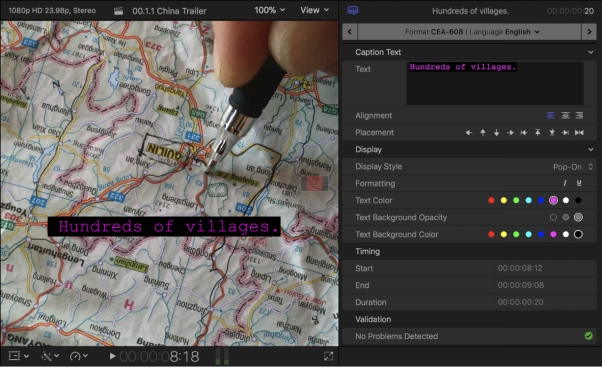
You may customize your captions in a lot of ways with Final Cut Pro. To change the captions' font, size, color, and placement, use the Inspector panel. Additionally, you may adjust the timing by sliding the timeline's caption blocks' boundaries to make sure they precisely match the spoken words.

-
Step 6: Export Your Captions
You can export the captions after you are happy with them. Select your desired export option under Export Captions in the File menu. The captions can also be exported as a separate file, like an SRT or iTT file, for use on other platforms, or they can be burned straight into the video. Go to File, Share, and Export files to accomplish that. Select Burn in captions after clicking on the Roles tab and then the blue Captions icon.
Part 3: How to Change Caption Font in Final Cut Pro
Changing the caption font in Final Cut Pro is a simple process if you use the best method. The following steps will help you to change the caption font in the final cut pro.
-
Step 1: Select the Caption in the Timeline
Locate the caption you wish to change in the timeline by opening your Final Cut Pro project. To make the caption part stand out, click on it directly. This step is important since it guarantees that you are only changing the Captions Final Cut Pro.
-
Step 2: The Text Inspector Panel should open.
Navigate to the Inspector Panel located on the right side of the interface while the caption is selected. Click the View menu and choose Show Inspector if the panel is not displayed. To access all font-related options, including style, alignment, and spacing, select the Text Inspector tab in the Inspector.
-
Step 3: Select a Different Font
Find the Font dropdown menu in the Text Inspector. To view a list of the fonts that are available, click it. Choose your favourite font style by looking through the available alternatives. The viewer will immediately notice the change, giving you a sneak peek at how the new typeface will appear in the film.

-
Step 4: Modify Font Characteristics
Adjust other parameters, such as font size, colour, and alignment, to fit the style of your video. To adjust these properties, use the Text Inspector's input boxes or sliders. After you are happy, play back your movie to make sure the revised captions complement your overall style. If necessary, repeat these procedures for additional captions.
Part 4: How to Add Subtitles in Final Cut Pro iPad
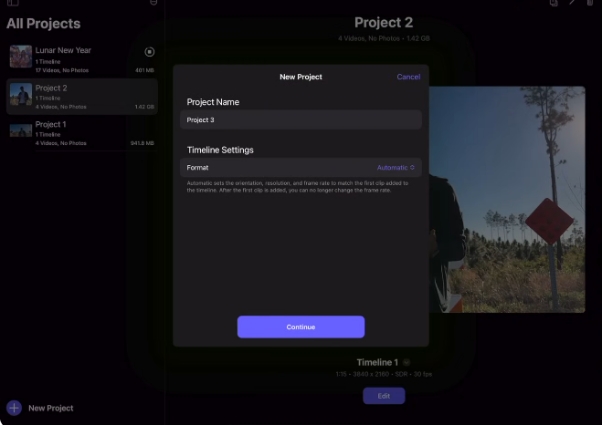
If you want to know how to add subtitles in final cut pro ipad then the following steps will help you to add subtitles using the final cut pro.
-
Step 1: Open the Timeline and Import Your Video
Start by loading your video project into Final Cut Pro on your iPad. To make the video clip the active editing area, drag it onto the timeline. This will allow you to add subtitles and match them to particular dialogue or scenes.

-
Step 2: Include a Layer of Captions
From the menu, choose Captions after tapping the Add Media (+) button. Either manually add subtitles or select your desired caption format (such as SRT or SCC). You may begin adding subtitle text in the caption layer that will show up above the video clip in the timeline.
-
Step 3: Personalize the Subtitles
Tap the Text Inspector icon in the upper-right corner after selecting a caption segment. Here, you can modify the text, alter the font styles, align the text, and set the duration of the subtitle to correspond with the speech or scenes in your film. You can view your changes in real-time by using the preview window.
-
Step 4: Export the Video with Subtitles
After you are happy with the subtitles, click the Export option and choose the file type you want. Make sure the right parameters (burn-in or sidecar files) are checked to ensure captions are included. You can share or save your video with subtitles straight from the iPad.
Part 5: Best Final Cut Pro Caption Generator Alternative - Edimakor
Another best final cut pro subtitle generator alternative that can be used for generating captions with ease is Hitpaw edimakor. The following are beneficial in this way.
-
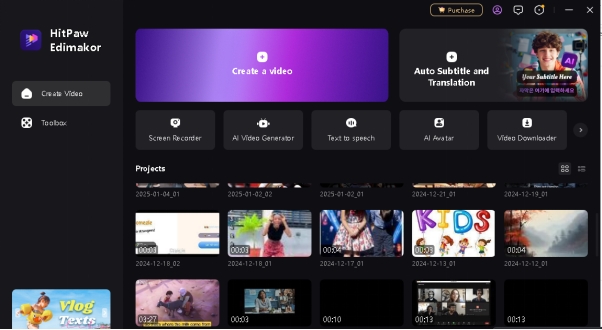
Step 1: Open HitPaw Edimakor and Select Auto Subtitle
On your device, launch HitPaw Edimakor. Because of its easy-to-use interface, it is a great substitute for Final Cut Pro for producing captions quickly and effectively. Choose the Subtitle Icon after navigating to the Toolbox section of the main interface.

-
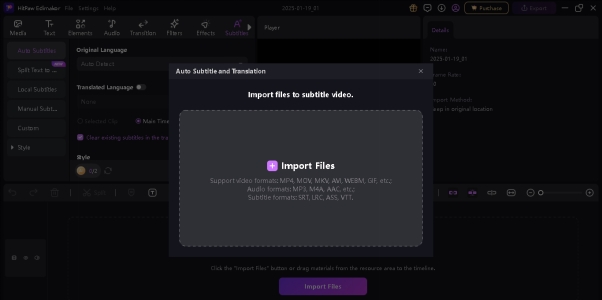
Step 2: Generate and then Edit Subtitles
Compared to manual transcription, this feature saves you time by precisely generating subtitles automatically. The video file you want to caption can be uploaded by clicking the Import option. Because of the tool's support for multiple file formats, processing your information is simple and free of compatibility problems.

-
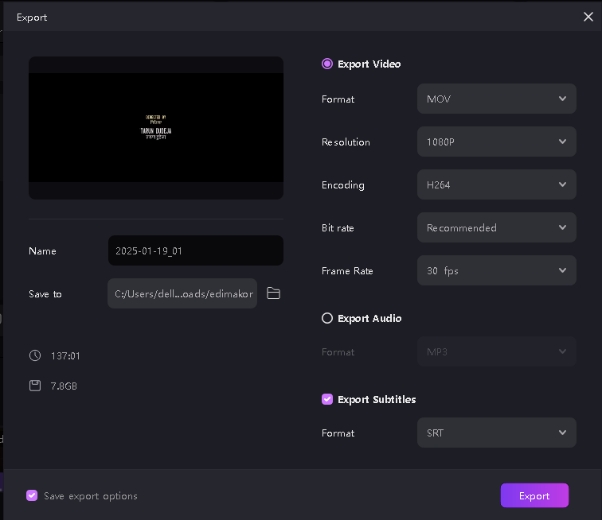
Step 3: Export the Video
Once the subtitles have been created and reviewed, click the Export option. After selecting your preferred subtitle format, save the video to the location of your choice.

FAQs on How to Add Subtitles in Final Cut Pro
-
Q1. Is There Any Final Cut Pro Subtitles Plugin Free?
A1: Indeed, there are free plugins for Final Cut Pro that improve the operation of subtitles. Well-known plugins such as "Simon Says" provide transcription and captioning services, with rudimentary functionality available in their free editions. Some free plugins, though, could have restrictions like watermarks or limited export formats.
-
Q2. How to Fix Final Cut Pro Captions Not Showing?
A2: Make that the captions are properly added to the timeline and that the viewer is configured to display captions if Final Cut Pro is not displaying them. Make sure that captions for the selected format are included in the export settings. Additionally, look for any caption overlaps that could lead to issues.
Last Words
Gaining proficiency with add subtitles with Final Cut Pro feature is essential for producing inclusive and captivating material. Adding subtitles to your video broadens its audience and improves accessibility. With its user-friendly features and AI-powered accuracy to speed up your editing process, HitPaw Edimakor (Video Editor) is the ideal caption generator for anyone looking for an alternative to Final Cut Pro's subtitle capabilities.
HitPaw Edimakor (Video Editor)
- Create effortlessly with our AI-powered video editing suite, no experience needed.
- Add auto subtitles and lifelike voiceovers to videos with our AI.
- Convert scripts to videos with our AI script generator.
- Explore a rich library of effects, stickers, videos, audios, music, images, and sounds.

Home > Video Editing Tips > How to Add Subtitles in Final Cut Pro iPad/Laptop 2026
Leave a Comment
Create your review for HitPaw articles






Yuraq Wambli
Editor-in-Chief
Yuraq Wambli is the Editor-in-Chief of Edimakor, dedicated to the art and science of video editing. With a passion for visual storytelling, Yuraq oversees the creation of high-quality content that offers expert tips, in-depth tutorials, and the latest trends in video production.
(Click to rate this post)