Adding subtitles to an MKV video results in enhancing the accessibility and understanding for the viewers. In this article, you will walk through the entire process to add Add Subtitle Track to MKV effortlessly.
Part 1: How to Add Subtitles to MKV Video Permanently for Mac & Windows
Adding subtitles to your MKV video files can significantly improve accessibility as well as overall viewing experience. To Add Subtitles to MKV Without Re Encoding, there is nothing better and perfect than HitPaw Edimakor. Here are the steps you can use to add subtitles to an MKV video permanently for MAC and Windows:
-
Step 1: Launch HitPaw Edimakor
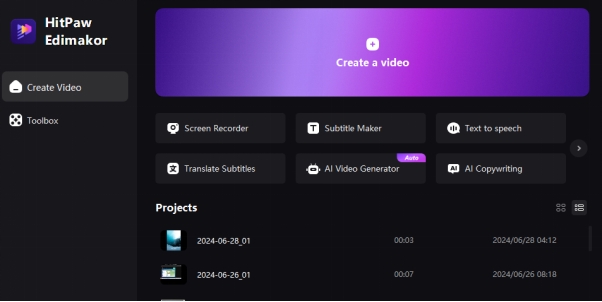
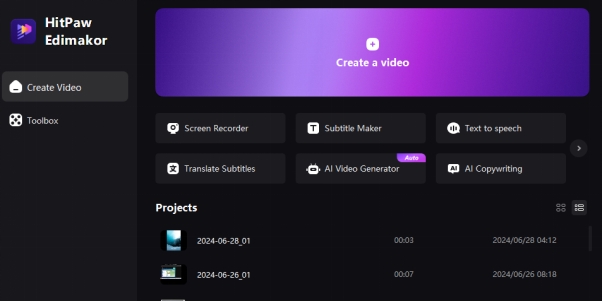
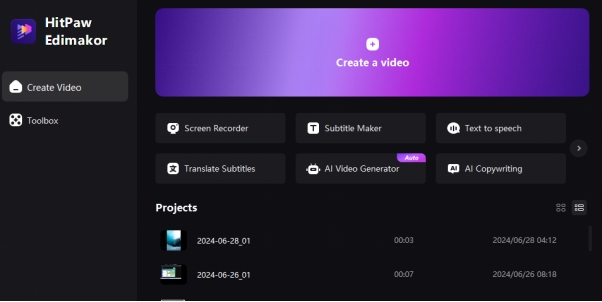
First, to know How to Add Subtitles MKV, you need to download HitPaw Edimakor from its official website. The software is available for both Windows operating systems and MAC users. You can follow the installation to install the tool on your computer.

-
Step 2: Import MKV Video
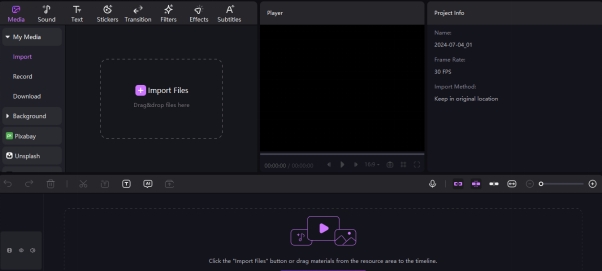
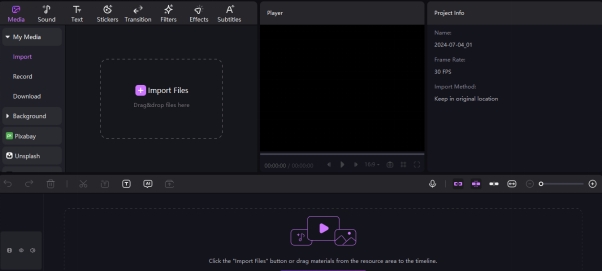
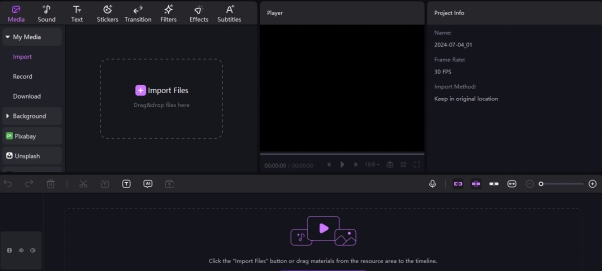
Once the installation is complete you can launch HitPaw Edimakor. To begin, you have to tap on the Media tab and then Import the option located at the top left corner. You can browse through your files and choose the particular MKV video. The amazing fact is that HitPaw Edimakor supports different video formats.

-
Step 3: Add Subtitles
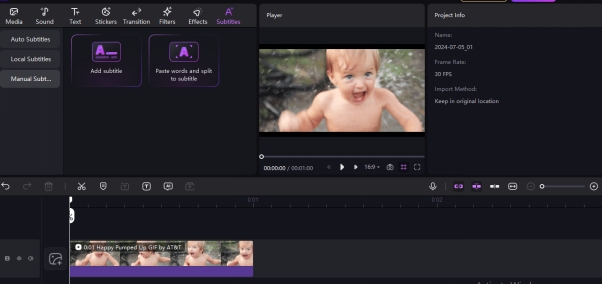
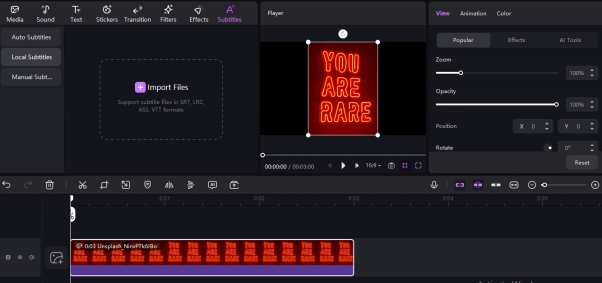
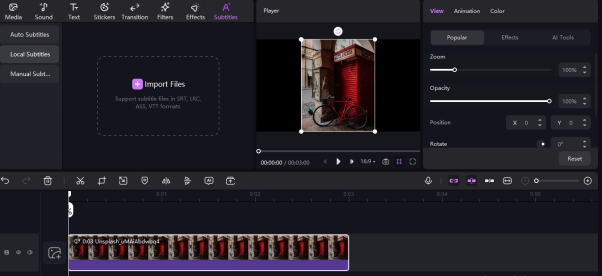
After your video navigate to the subtitles tab and then select the Add Subtitles option. Next, you have to choose the subtitle file that you want to embed in the video. HitPaw Edimakor supports different subtitle formats including SRT, ASS and SSA, you can select the appropriate file from your computer.

-
Step 4: Customize Subtitles
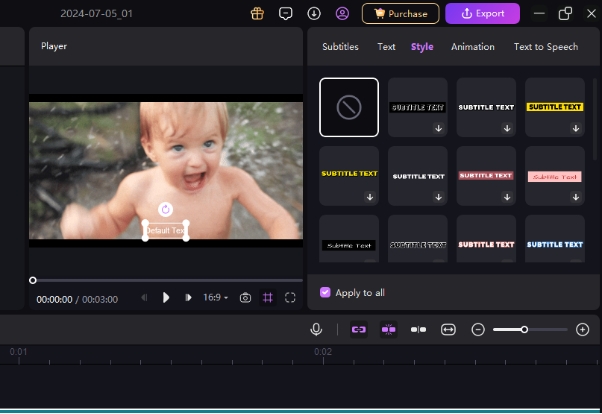
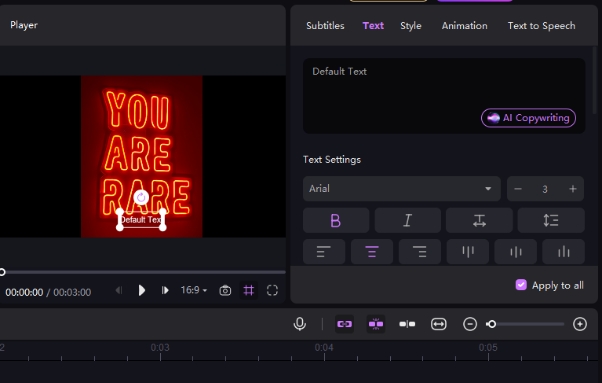
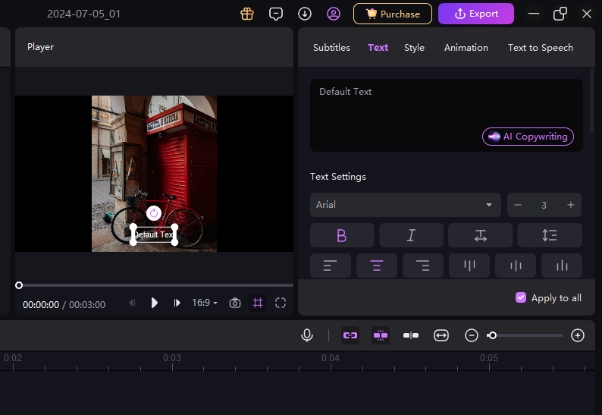
Once you have added the subtitles you have a great facility to customise their appearance. HitPaw Edimakor allows you to change the font, colour, size, and position of the subtitles to match the preferences or the style of the video.

-
Step 5: Export the MKV Video
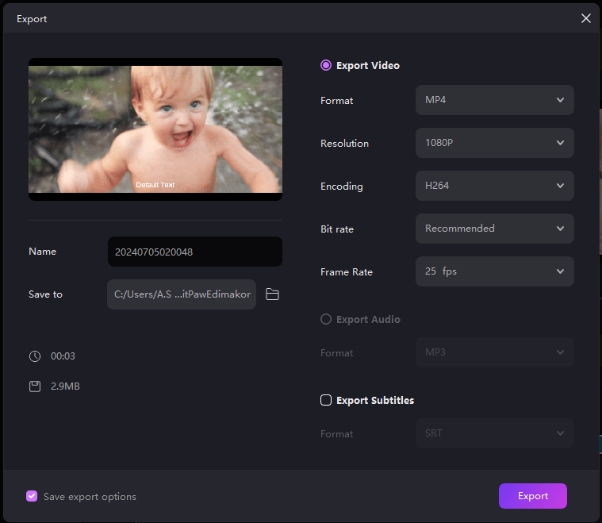
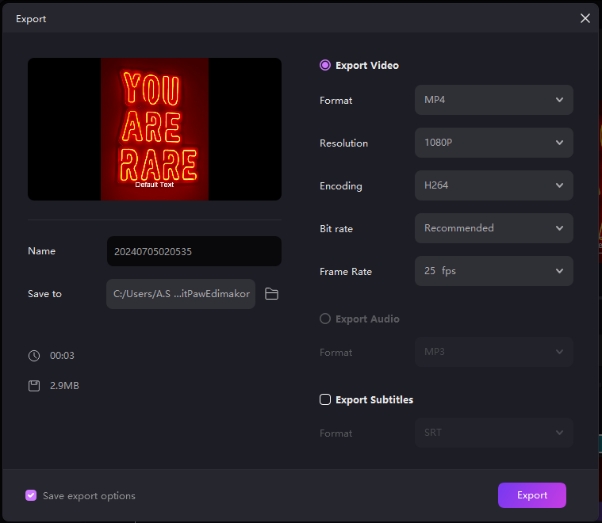
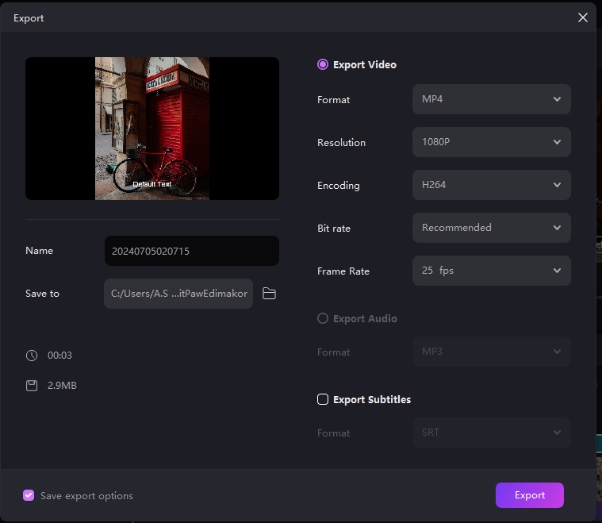
After customising the subtitles to your satisfaction tap on the export button and choose the desired output format and resolution. Make sure you select MKV as the output format to maintain the original video quality. This is how you can learn How to Add Subtitles to a MKV effortlessly.

Part 2: How to Add 3D Subtitles to MKV Video
Adding 3D subtitles to your MKV video can create an immersive viewing experience, especially for the 3D content. HitPaw Edimakor offers amazing tools to add subtitles to MKV vlc seamlessly:
-
Step 1: Launch HitPaw Edimakor
First of all, you have to download and then install HitPaw Edimaker on your computer and it is important to make sure that you are using the latest version of HitPaw Edimaker. HitPaw Edimakor keeps on updating after a particular period to bring advanced features for the users.

-
Step 2: Import MKV Video
The next step is to use the import option to add your MKV video to HitPaw Edimaker. You will be allowed to browse your computer and enter any kind of MKV video into the tool.

-
Step 3: Add 3D Subtitles
Now you have to select the 3D subtitle file from your computer and if you don't have a file then you can create one or can also download it from a reliable source. HitPaw Edimakor supports popular 3D subtitles formats like SRT and ASS.

-
Step 4: Customize Subtitles
Once you have added 3D subtitles to your particular MKV video now it's time to customise their parents so that the 3D effect can be enhanced.

-
Step 5: Export the MKV Video
After customising the 3D subtitles and making yourself satisfied with the results you can export the video by tapping on the export button available at the right top of the screen. This is how simple it is to add subtitles to MKV free.

Part 3: How to Add Srt Subtitles to MKV
SRT is one of the most widely used subtitle formats because of its compatibility and simplicity. The process of how to add subtitles to a video MKV by using HitPaw Edimakor is simple:
-
Step 1: Launch HitPaw Edimakor
As mentioned above the first step is to download and then install HitPaw Edimaker to your device. Once it is installed completely you have to open it and then choose Create a Video option.

-
Step 2: Import MKV Video
Then you have to import your MKV video where you want to add SRT subtitles. The amazing fact is that HitPaw Edimakor allows users to import not only MKV video but also other support formats.

-
Step 3: Add Subtitles
The next step is to move to the subtitles tab and then choose the Add subtitles option. Here you can browse your computer for the SRT file you want to add to the video.

-
Step 4: Customize Subtitles
Once the SRT subtitles are added you can customize their parents to make sure that they are perfect according to the preferences of the video. You have the facility to modify the colour, size, font, and positioning of the subtitles.

-
Step 5: Export the MKV Video
At last preview the video to make sure that it is according to your desire and need. Hit the export button so that the video can be downloaded to your computer.

Final Words
By following the above steps you can easily Add Subtitles to MKV. This not only improves accessibility but also enriches the viewing experience for a diverse audience. Therefore if you want to enhance your viewing experience then don't forget to add subtitles to MKV. HitPaw Edimakor has your back in this regard and will never disappoint you with its user-friendly interface.
Home > Subtitle Tips > How to Add Subtitles to a Video MKV 2026
Leave a Comment
Create your review for HitPaw articles




Yuraq Wambli
Editor-in-Chief
Yuraq Wambli is the Editor-in-Chief of Edimakor, dedicated to the art and science of video editing. With a passion for visual storytelling, Yuraq oversees the creation of high-quality content that offers expert tips, in-depth tutorials, and the latest trends in video production.
(Click to rate this post)